


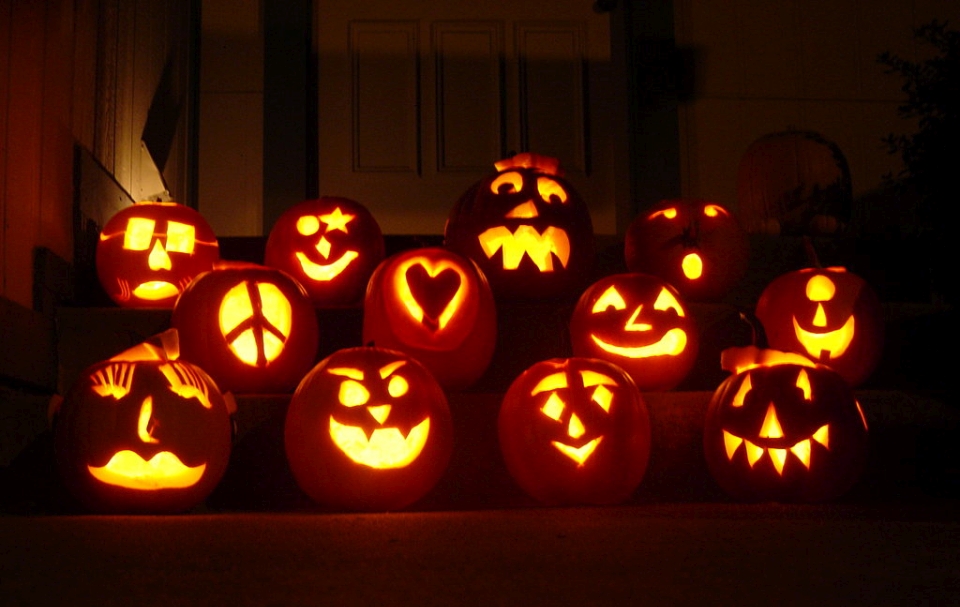
Halloween is just around the corner and we know Halloween decoration is incomplete without carved pumpkins at the doorstep. According to the legend, Jack-o’-lantern is believed to protect your home from evil spirits, ensure a good harvest and peace for the rest of the year.
Lack-o’-lanterns helps you to bring a hollow feel to your home decor. Your choice for pumpkin carving patterns can be anything from simple figures and logos to celebrity faces and famous movie characters. If you’re an amateur at carving pumpkins, we have got you covered with simple pumpkin carving tips that will be of great help to you in creating your own jack-o’-lantern for Halloween.
Choosing the Right Pumpkin
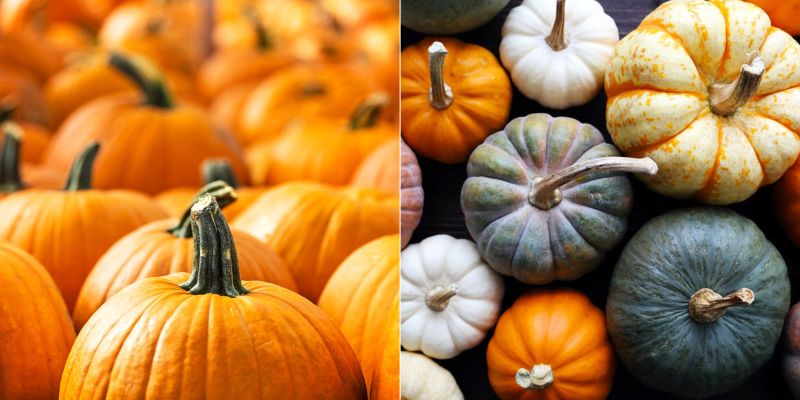
When decorating for Halloween, you need to be careful in choosing the right pumpkins for carving, painting, cooking, and fall décor. The first tip is to choose a fresh pumpkin. It becomes important that the pumpkin you are choosing is hard and is not rotten from any side because it will decay fast.
The health and freshness of the pumpkin determine how good your jack-o’-lantern will turn out. The Pumpkin should be firm all over and without any brown and/or soft spots. Also, make sure that the pumpkin has thick walls with a nice flat bottom.
Take a glance at the stem and analyze its stiffness to guess the freshness. The stem must be hard, dark green or black in color, and attached to the pumpkin head without wiggling. Do not hold the pumpkin from the stem it can break and damage the pumpkin. The size and shape of the pumpkin is also important factor because it decides what design and how much bigger you can carve on it. Round or oval pumpkins with flat bottoms are easier to carve.

Use the Right Tools
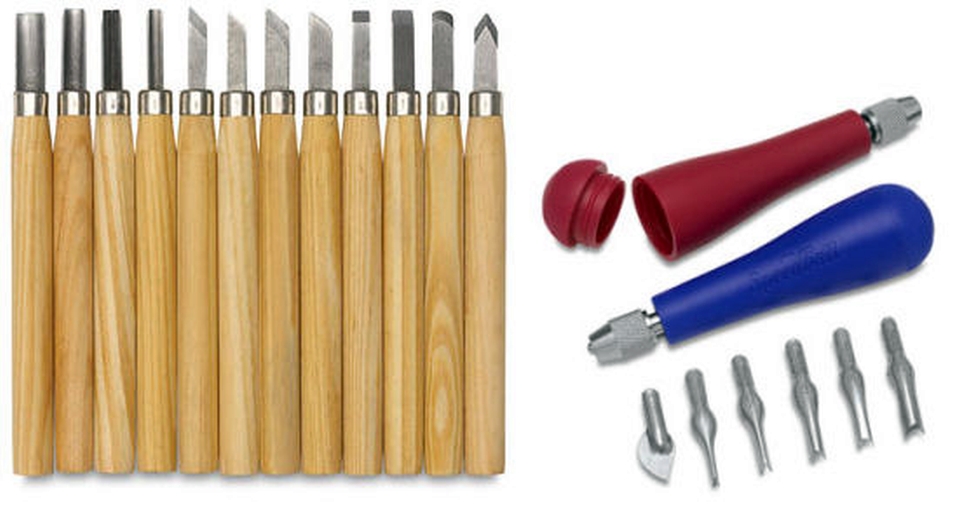
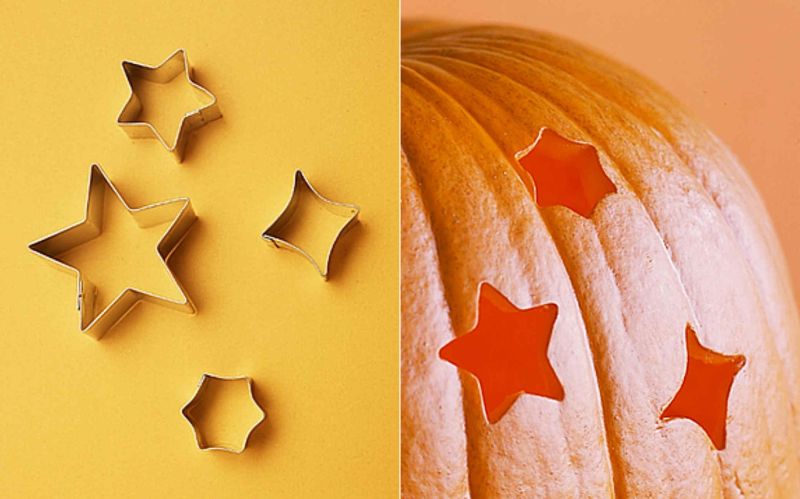
Instead of heading out to the market to get a carving kit, it is better to explore your kitchen first. A serrated knife and cookie cutters can be used for carving different patterns, while a large metal spoon is perfect to scoop out the pumpkin seeds and clear Jack’s guts. One also needs to keep in mind safety tips before engaging in the pumpkin carving process.
Once you are done clearing, cutting, and carving the pumpkin as per your desire make sure you use toothpicks to give the finishing touches and correct mistakes. In case you are willing to hit the market you can pick up a paring knife, melon baller, keyhole saw, chisel, and a power drill and carve like a professional.


Also Read: No-Carve Pumpkin Decorating Ideas for Halloween
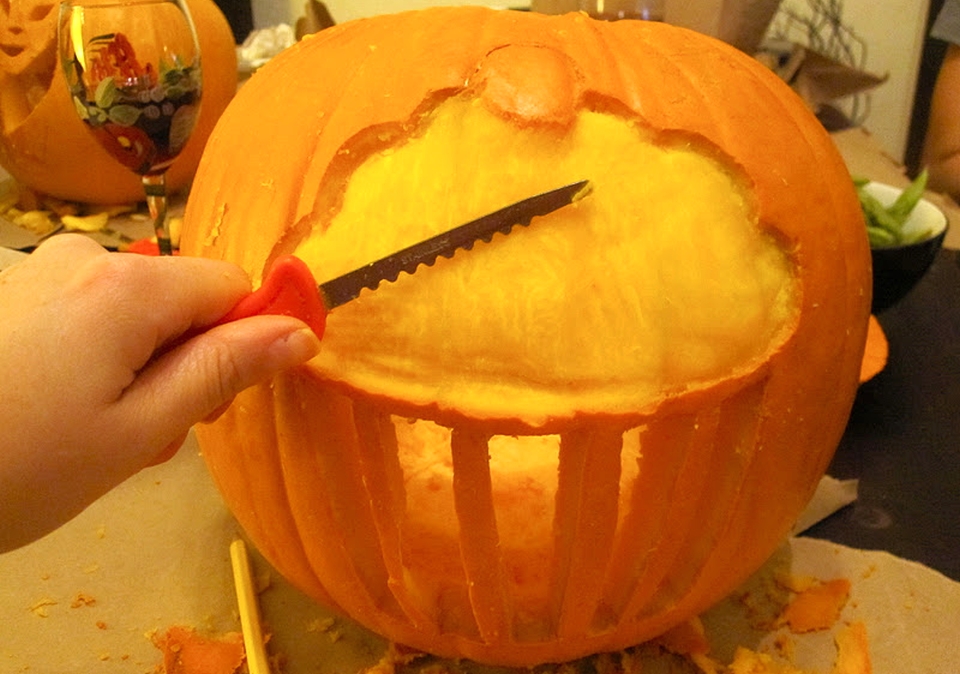
Cut the Lid Well
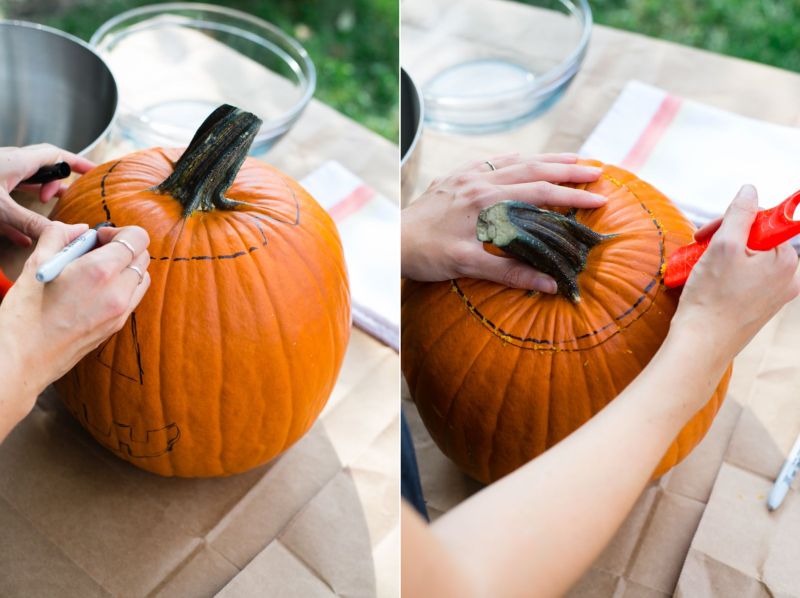
The second and the most difficult aspect of carving a pumpkin is to cut the lid. Before you start piercing the heart of the pumpkin it is important to wash it properly. The next step is to chop the top but do it with artistic hands.
Cutting the lid (the top part with stem) is the most crucial task, as one wrong move and the lid will fall straight into the lantern. You can use a simple chef’s knife to cut the lid with precision. Star from drawing and then cut on an inward angle so that the lid fits over the pumpkin when you put it back after cutting in the end.

Scoop Out Everything from Inside
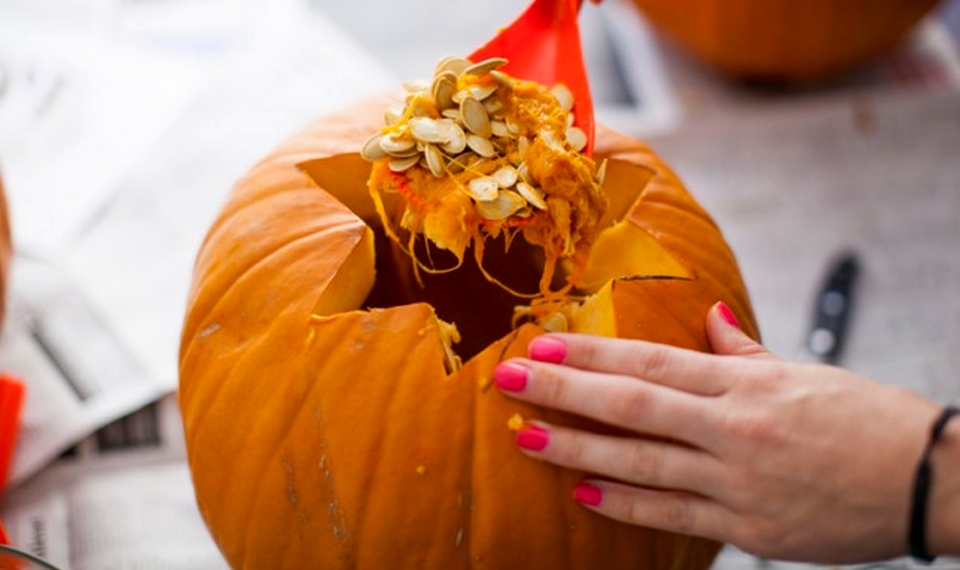
After cutting the lid, the next step is to remove all the pulp and seeds from the belly of the pumpkin. We would recommend you clean the pumpkin properly and make space for the candle to be placed inside the pumpkin. Use a metal spoon to scrape out all the pulp and seeds. You can even do so with your hand. It is a fun part of pumpkin carving that you can enjoy with your kids. The extracted pumpkin seeds make a good snack and can also be used in decoration.

Draw the Pattern
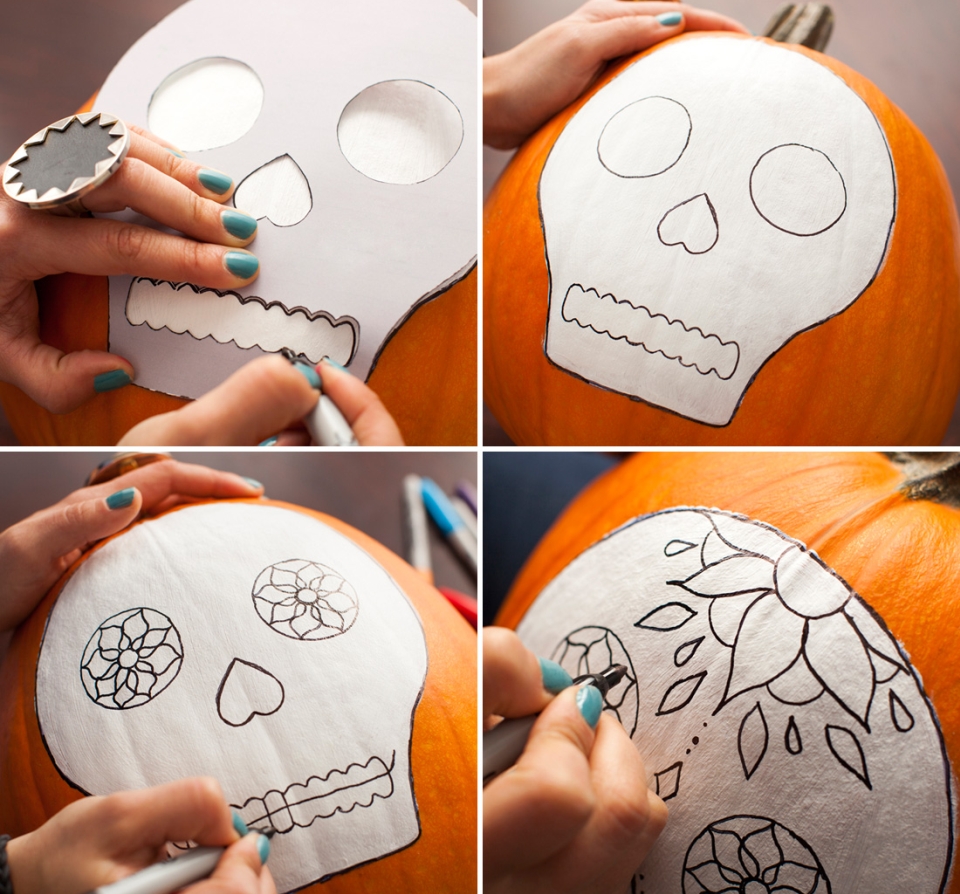
If you wish to be a pro at pumpkin carving, start from scratch. It is better to first draw the desired pattern on the pumpkin, or simply trace it with a paper model. Simply use a marker or stick the print of the design you wish to create as a stencil on the pumpkin, trace the design and carve it out gently.

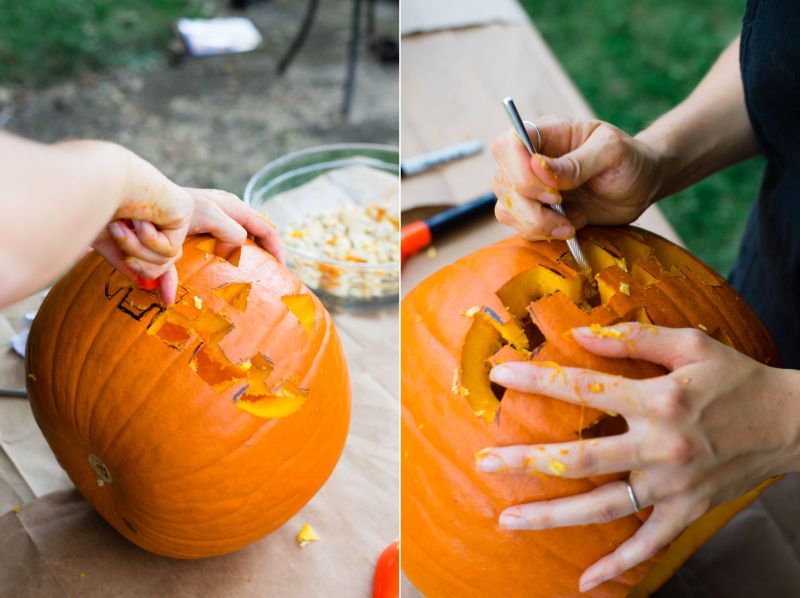
Cut Out the Design
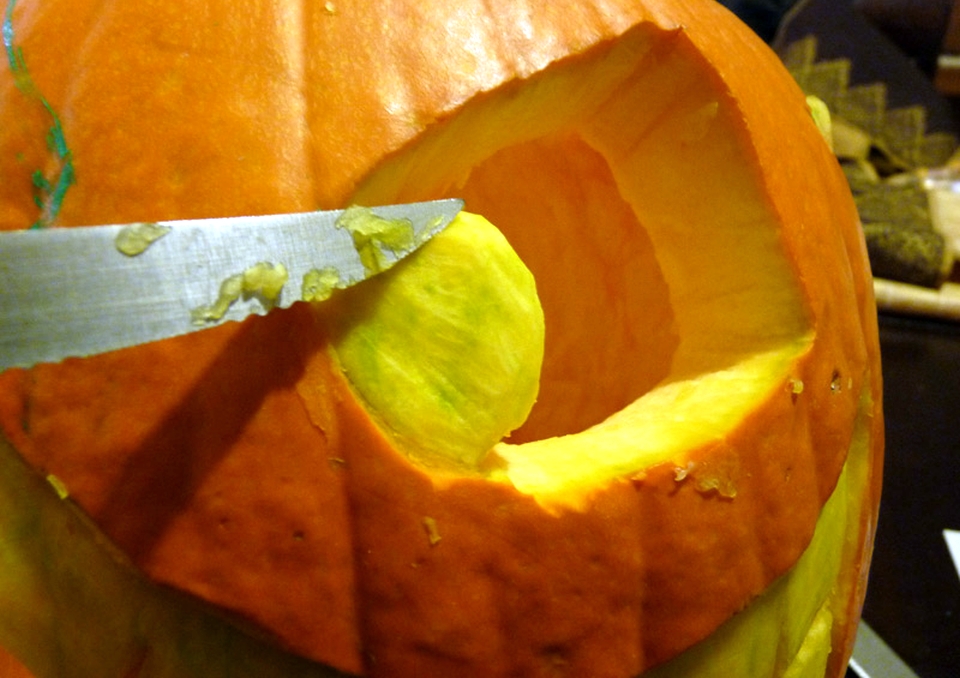
If you are not familiar with how to carve a pumpkin and this is your first try, it is better to go for an easy project first. While carving the pumpkin, never cut in angels, rather it is best to cut straight. You can even store scrap pumpkins as they can be used for additional visual details. It is recommended to start from the center and then move outward instead of cutting the boundaries first.

Also Read: 8 Fruits & Veggies You can Carve like Jack-o’-Lantern for Halloween
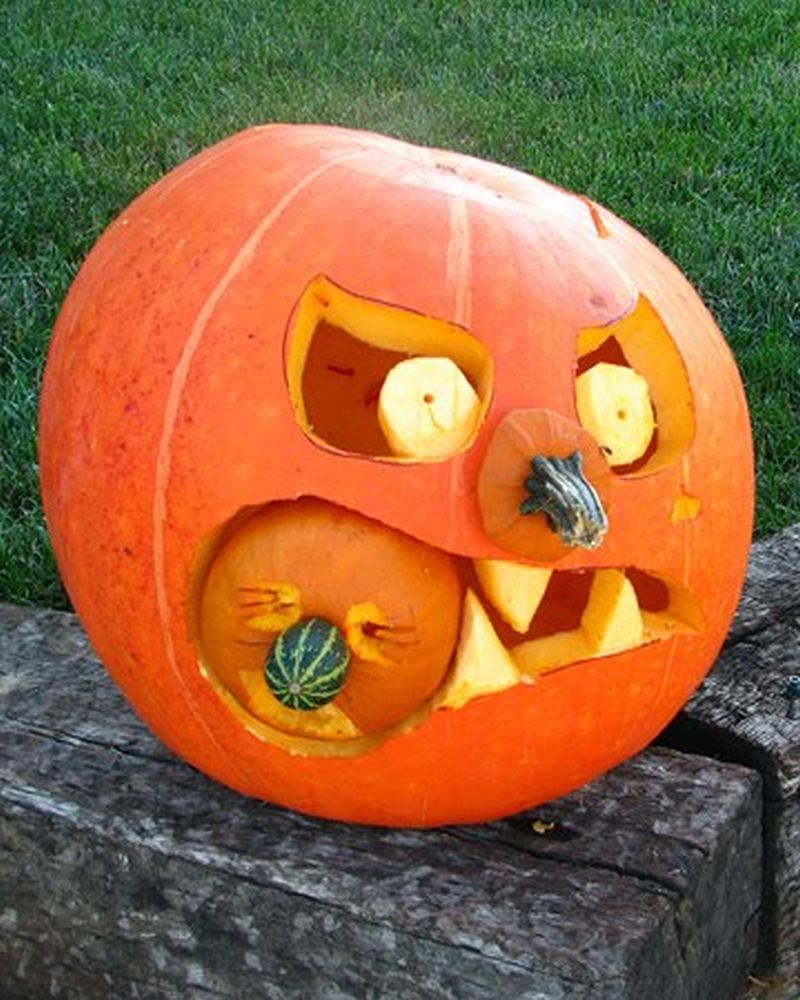
Add Finishing Touches
If you want to be fancy with pumpkin carving, then you must try shaving the skin off the pumpkin. It adds a shadowing effect to the pattern and you are able to carve different designs – including celebrity faces, movie characters and anything you like.
Clay sculpting tools are extremely useful to add finishing touch to a pumpkin design. In addition, you can use toothpicks to add different elements to the design.


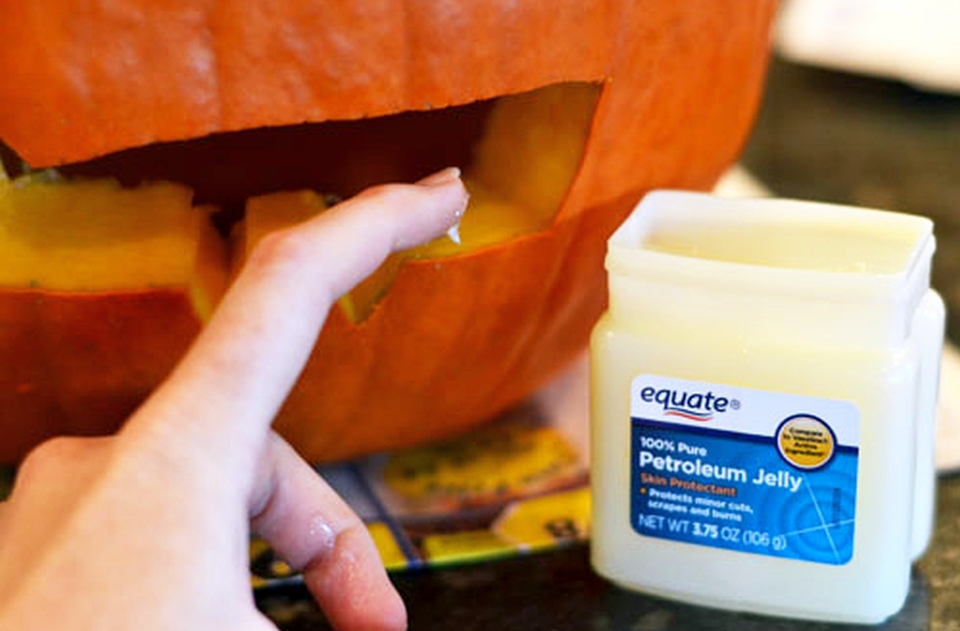
Keep it Fresh
When you have finally carved a pumpkin, you need to keep it fresh so that it looks a neat and clean for a longer period. For this purpose, you can make use of a simple pumpkin preservation tip and make your Halloween more beautiful. You can add petroleum jelly around the carved areas, which will seal the moisture within and keep it fresh.
If it still shrivels, put your pumpkin upside-down in ice-cold water for approximately eight hours. Repeat the process multiple times to revive the health and freshness of the carved pumpkin.

Add Cinnamon for Fragrance
This may sound strange and amusing but the best way to keep the bad odor away is to add cinnamon to your pumpkin. If you are using candles for light, then it’s obvious that your jack-o’-lantern will smell like a pumpkin pie. To avoid the situation, simply sprinkle some cinnamon on the lid which spruces a fresh fragrance that does not smell like pumpkin at all.

So what are you waiting for? Gather your pumpkin carving tools and start carving a pumpkin for the October 31st night. Make sure your jack-o’-lantern is different and better than your neighbors, and don’t forget to share your creations with us.
Follow Homecrux on Google News!


