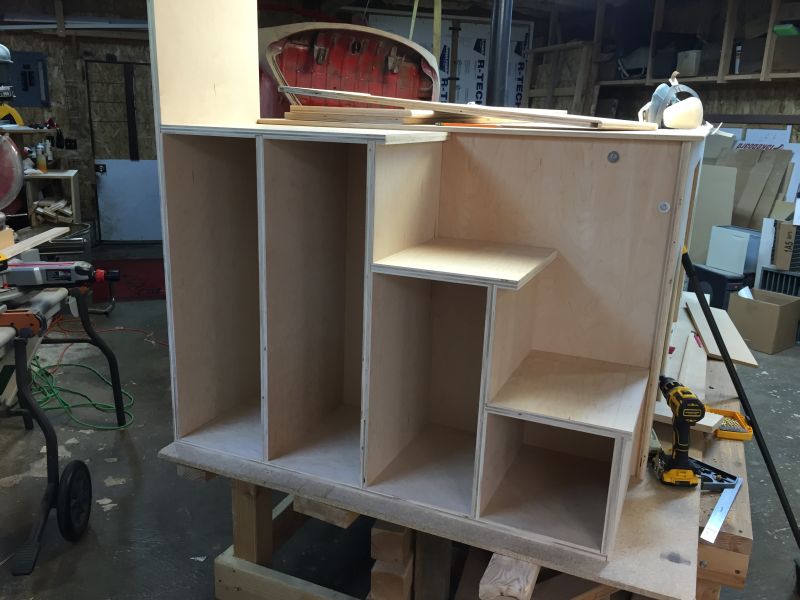
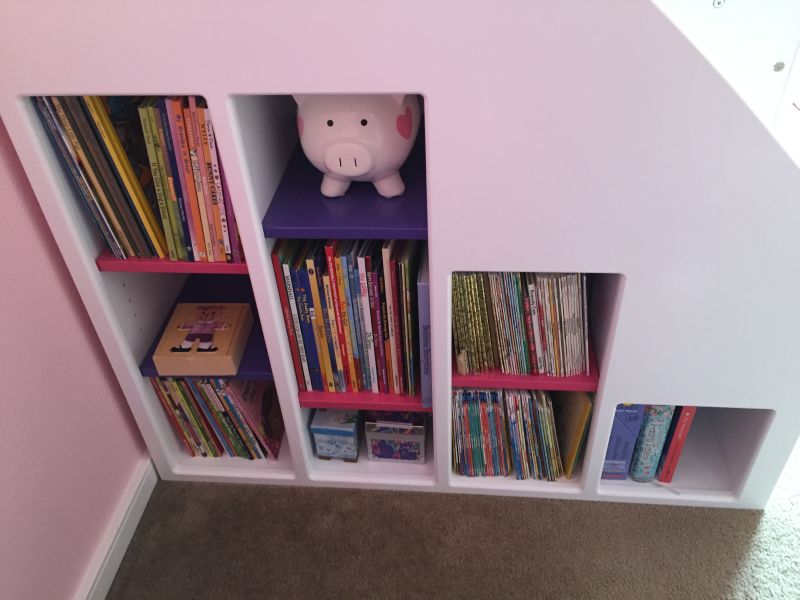
An Imgur user, Henry Hooker recently posted about a bed he made for his little daughter. This bed combines a bookshelves, dresser, and a pink LED-lit tunnel. In the creation process, he mainly used tools such as table mounted router, table saw, brad nailer, and a jointer for sub frame.
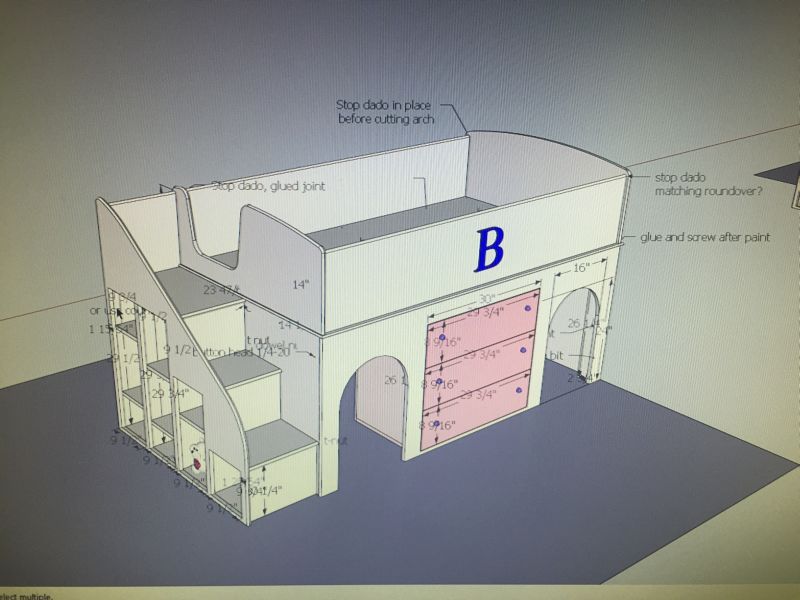
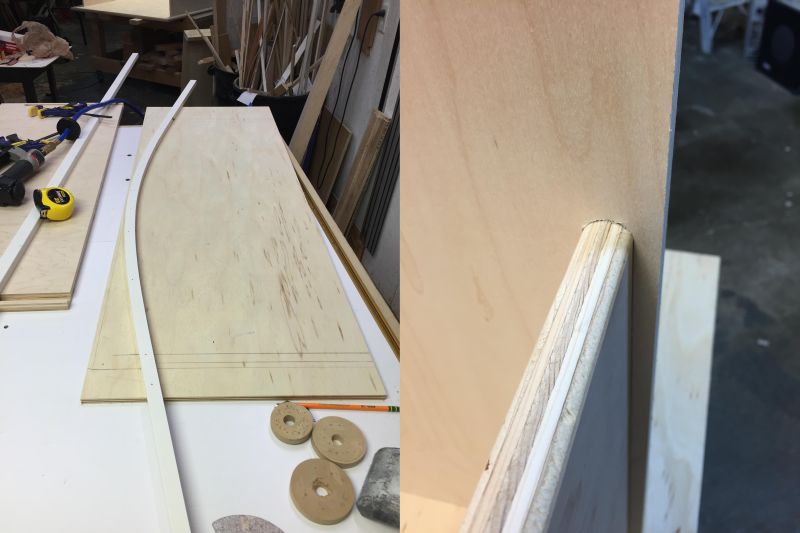
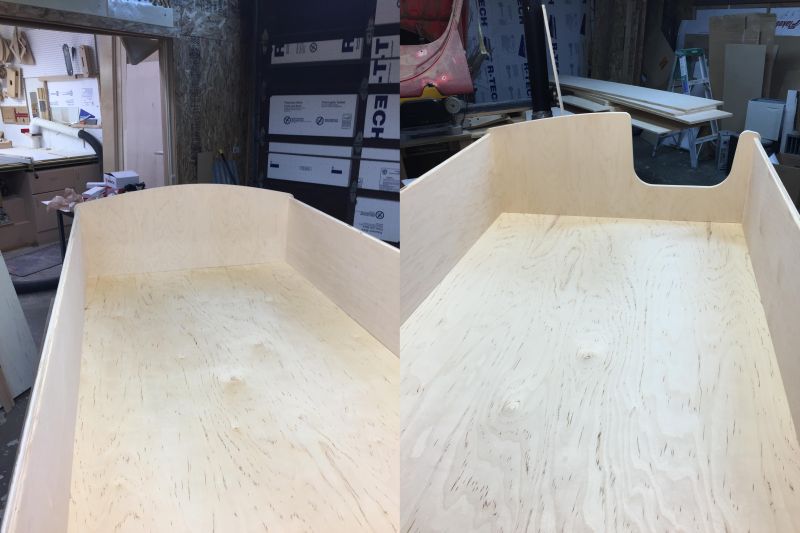
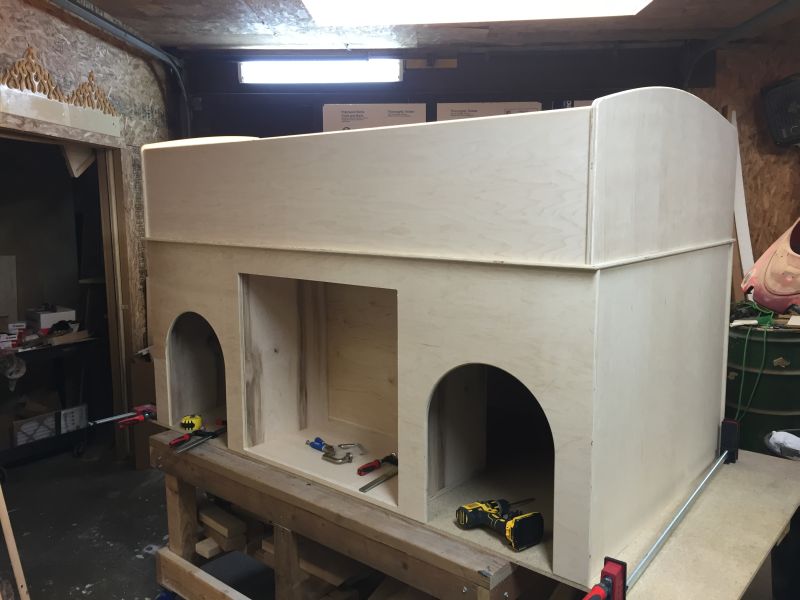
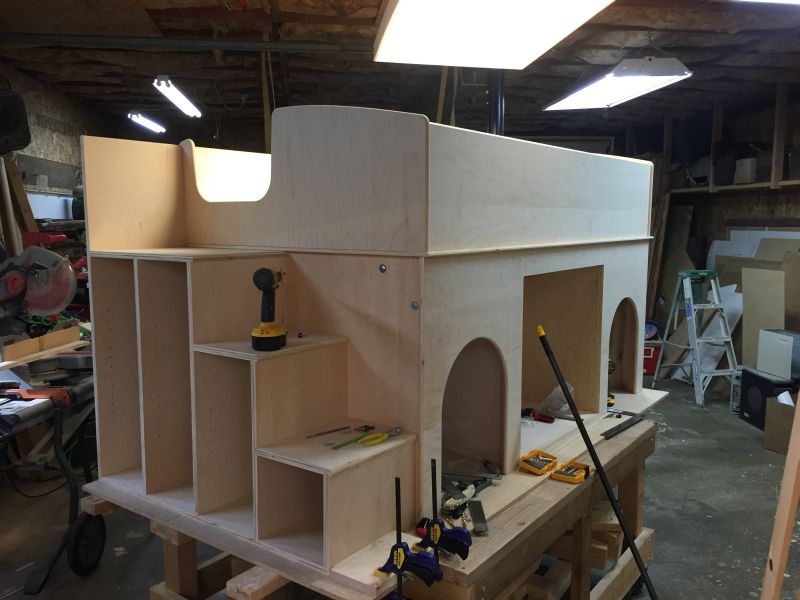
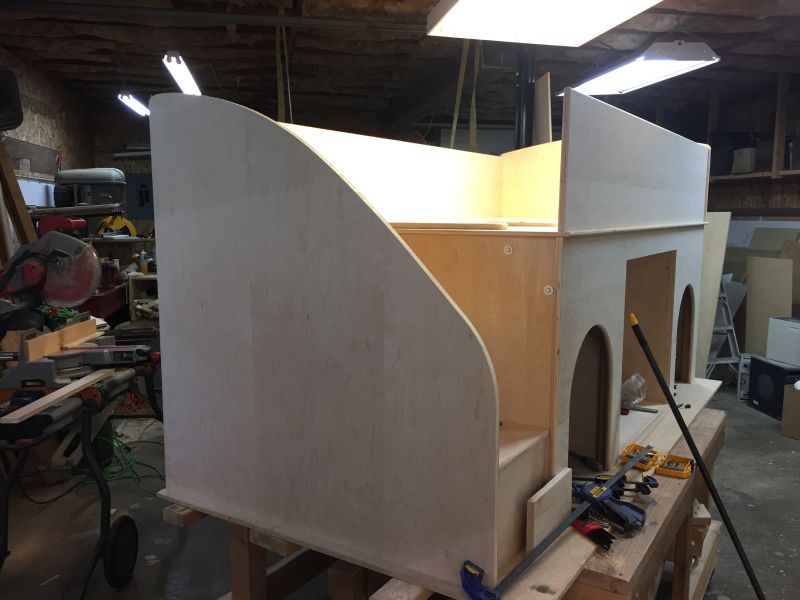
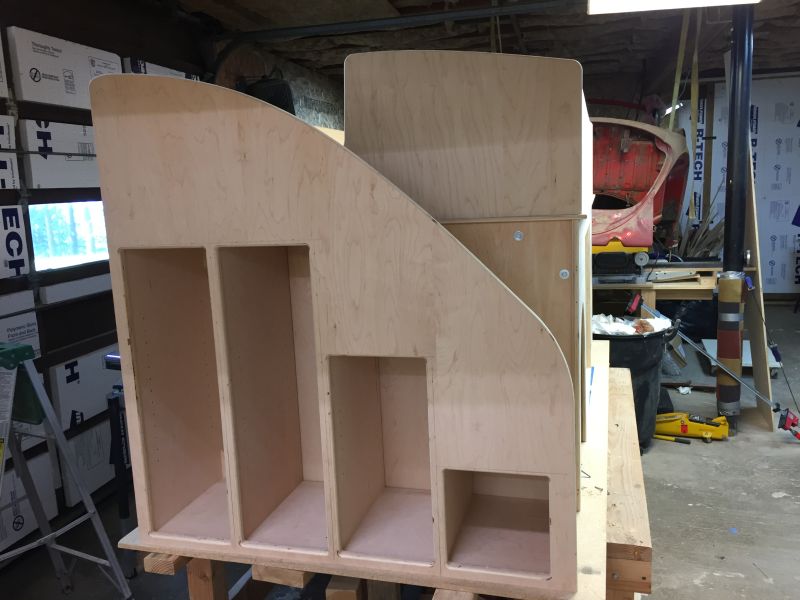
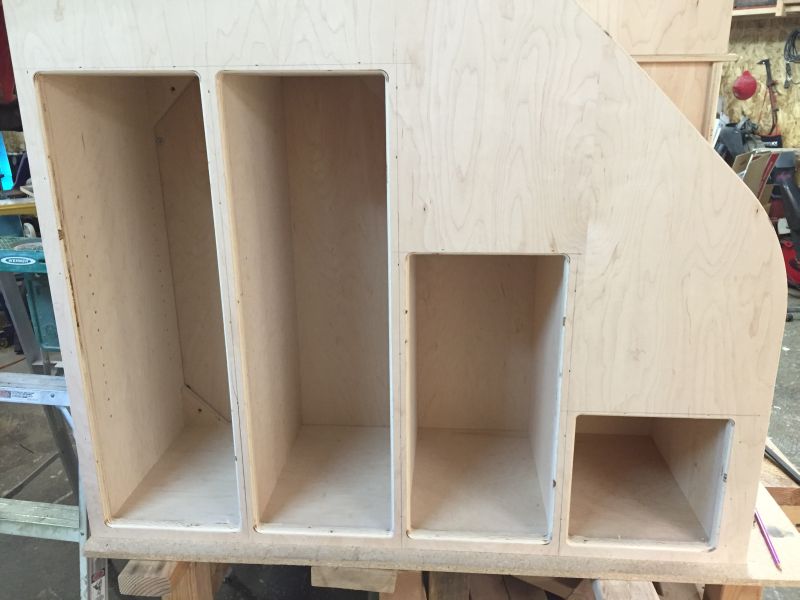
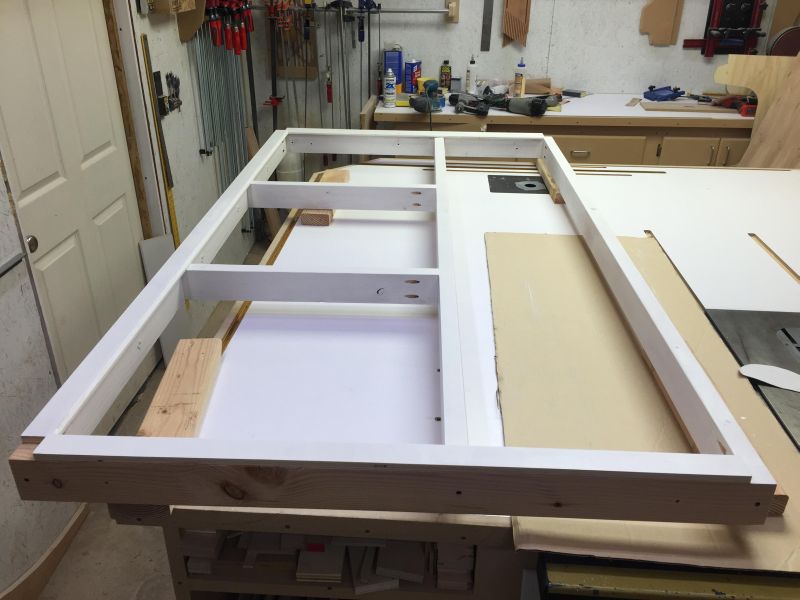
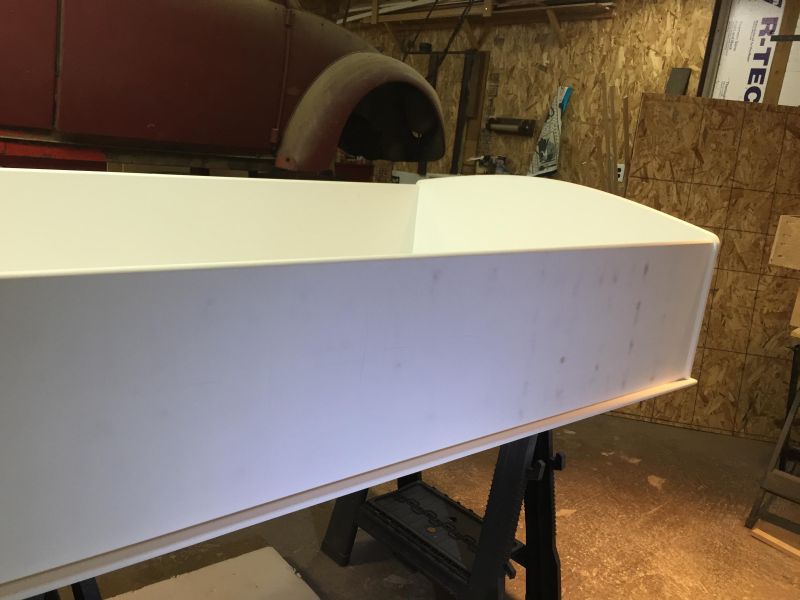
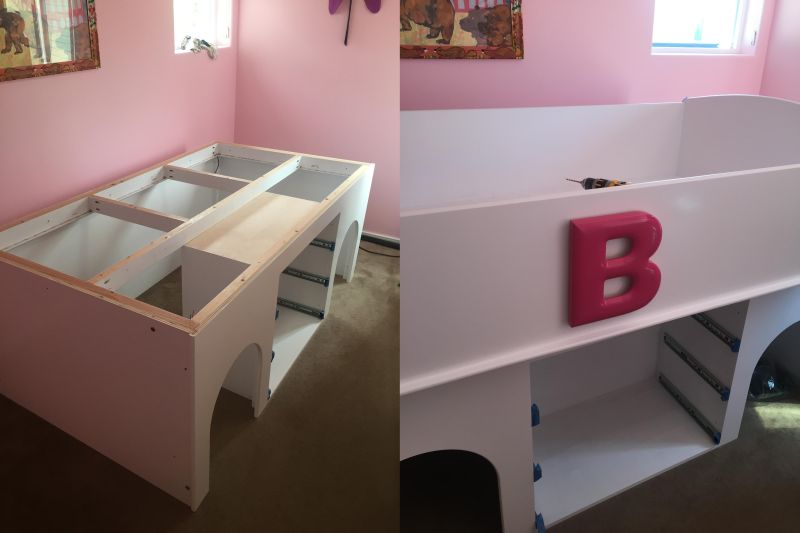
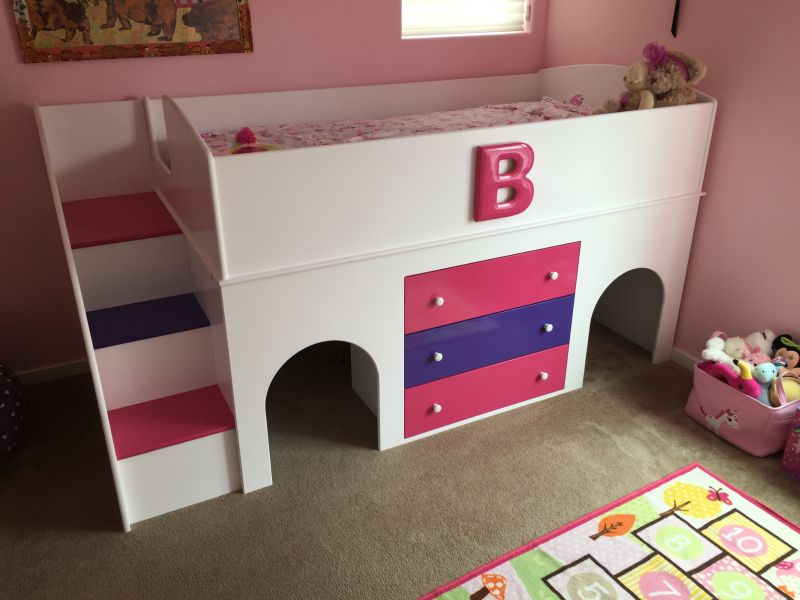
Initially a lot of efforts and time was given by him to make a blueprint for the design. Then creation process started with crafting arc jigs for its headboard and footboard. Final tunnel structure was deeply clamped with the top piece to keep the whole structure straight and stable. One side of the bed was notched out to attach the additional staircase. Further, the rounded over staircase was lined up with the bed.
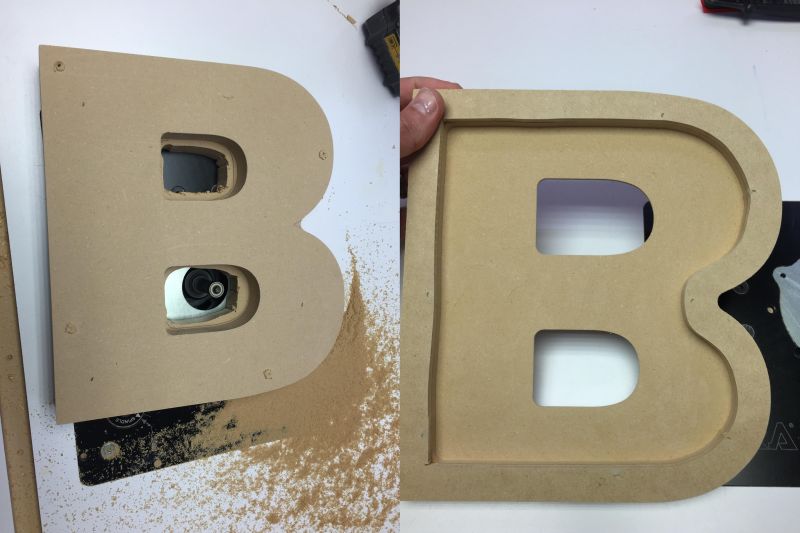
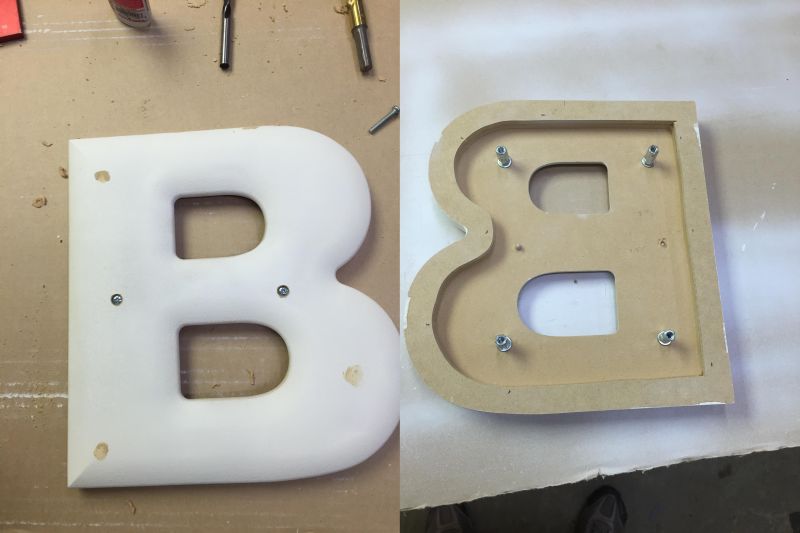
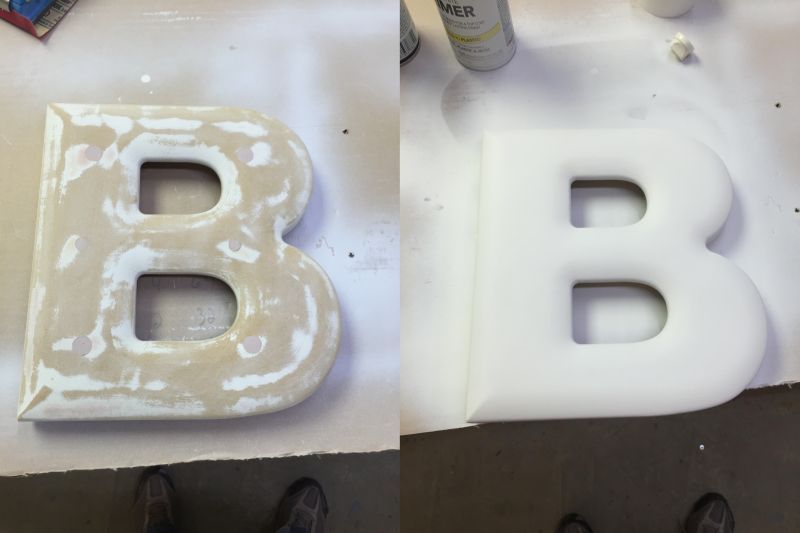
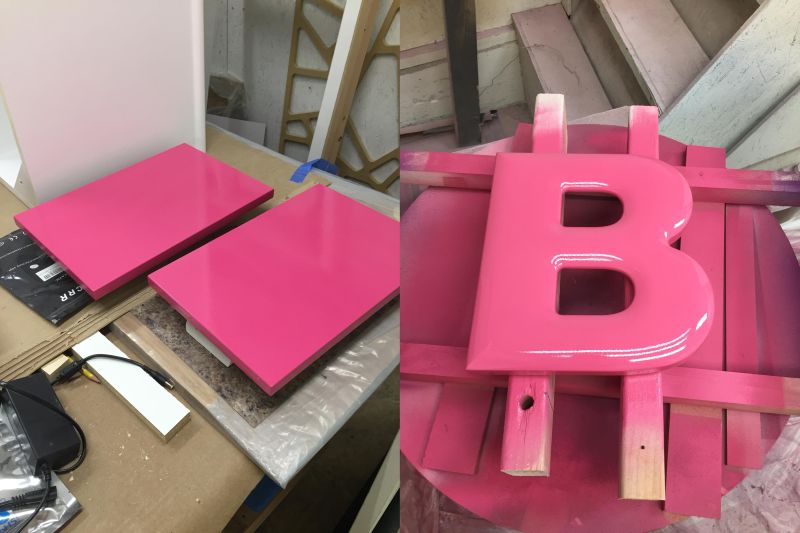
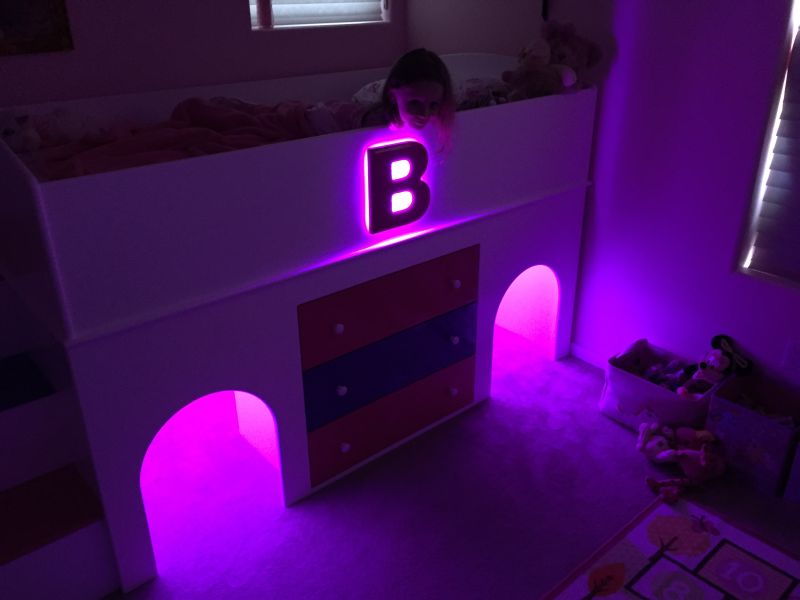
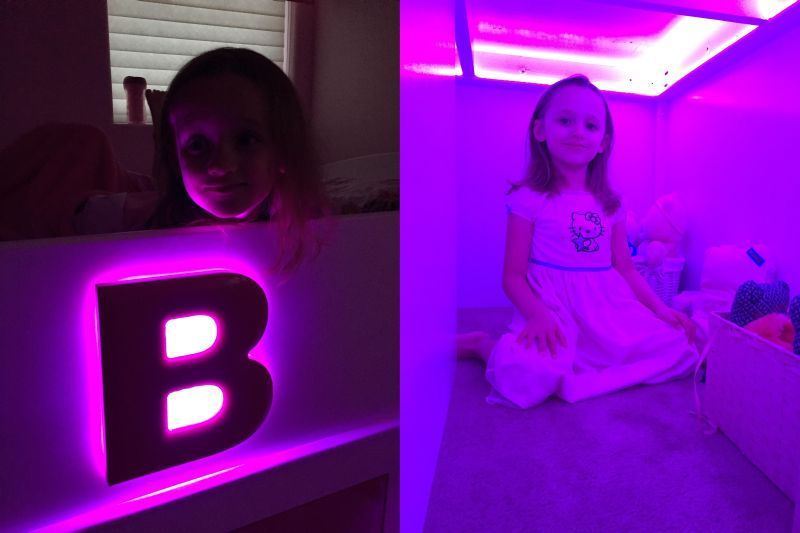
An MDF piece was routed to create the character ‘B’ symbolizing the first letter of the name of his daughter. Some material from its back was removed as spacer and then glued on its backside to show some depth. It was rounded over in a different way by using a handrail styled bit. He added four screws to attach it to the final structure. Finally, a lot of primer and berry pink color was used to present the character I an attractive way.
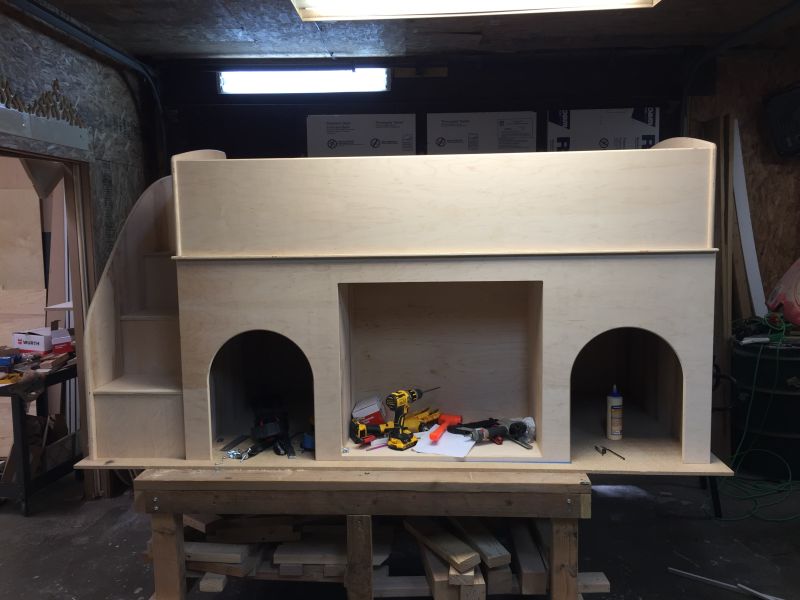
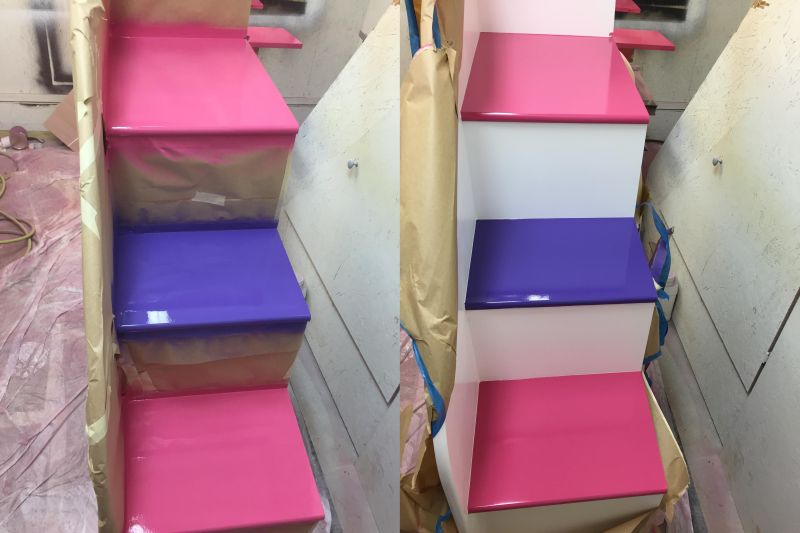
He included a shelf in the sub frame to keep the LEDs away from the sight of kids. At last, all pieces were deeply sanded and primed for a finished look. Mostly, he used Behr white paint for the design. Although the staircase was painted in attractive pink and purple. The Pink and glossy grape color used for shelves and dresser further enhanced its appearance. This design was assembled by Henry at his own house and his little daughter seems much pleased with her new bed. It surely inspires other dads around the world to make something unique and worthy for their kids.