Miniature art is a trend people are giving a whirl in Christmas home decor as well. You may have seen plenty of examples where people have set up miniature Christmas villages. Today, I am going to show you how to make a Christmas Village display, on a budget, using things easily available at home.
What is a Christmas village?
Christmas village is a classic Christmas decor that has become popular over the years. These miniature-scale villages comprise mini houses, trees, and other decorative figurines.
The tradition of decorative Christmas villages dates back to the 18th century holiday tradition of the Moravian church. The cardboard versions were very popular decorations during the early and mid-20th century while porcelain Christmas villages were introduced during the 1970s.
Also Read: How to Make Pinecone Christmas Wreath with Snowy Chill
Why make a Christmas Village yourself?
A Christmas village bestows a cute and festive touch to your holiday decorations. While store-bought Christmas village sets can burn a hole in your wallet, for a DIYer, it is less of a hassle but an opportunity to indulge in a fun craft. It is also one of the easiest Christmas village display ideas for small spaces. You can fit on a tabletop or a small corner in the house.
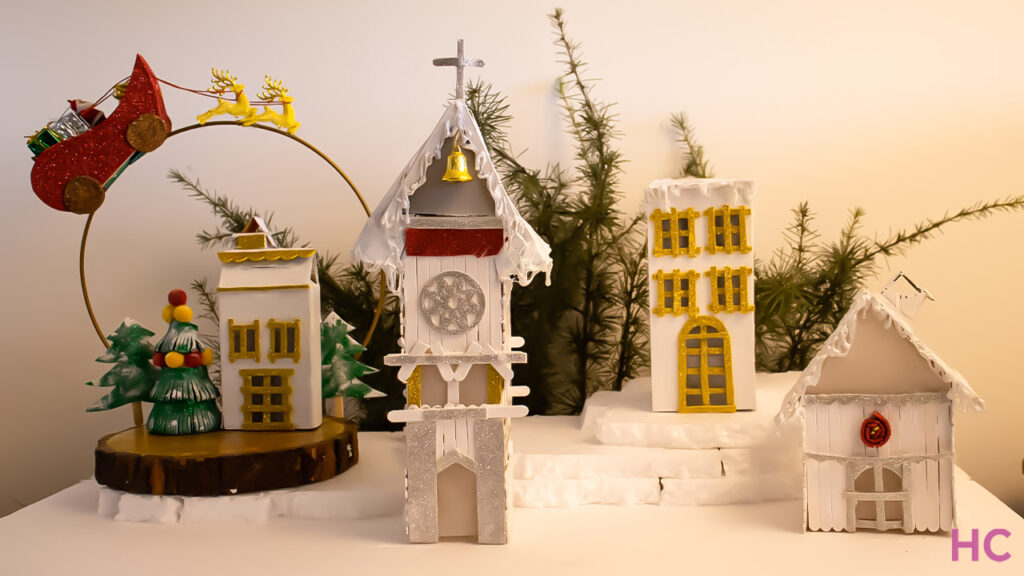
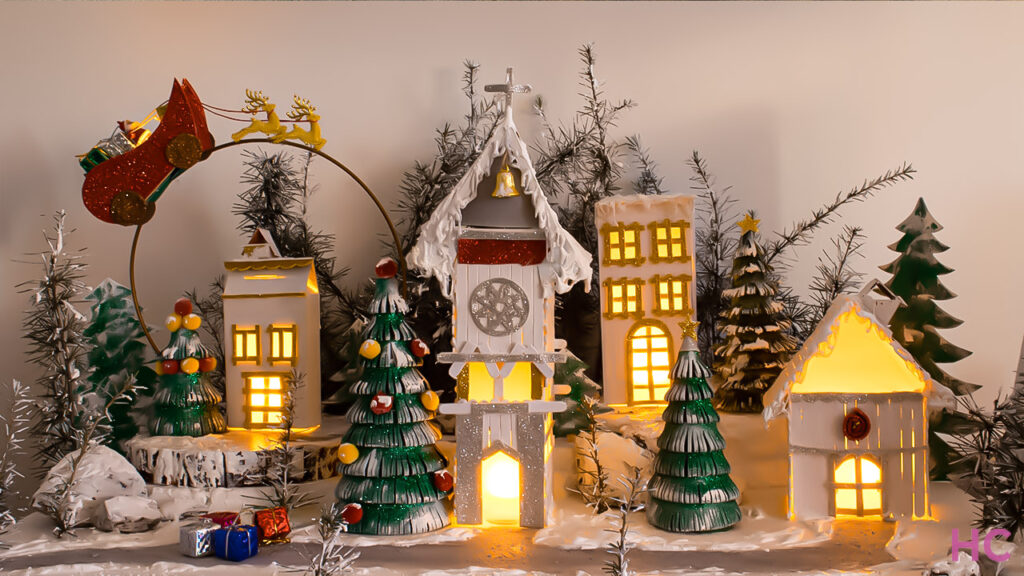
This is what triggered my instinct and I set out to make an elaborate Christmas village from scratch. What you are going to see below is largely made from materials found easily at home. This keeps the entire DIY Christmas village construction within a small budget. Without further ado, check out the video and read the step-by-step tutorial below.
Materials Required:
- Popsicle sticks
- Cardboard
- Glitter paper
- Styrofoam
- Hot glue gun
- Baking soda, white glue, and paint for homemade snow
- Stones
- Fresh pine branches
- Scissors
- Paper cutter
Steps to make a budget-friendly Christmas village?
Time needed: 30 minutes
- Make miniature houses
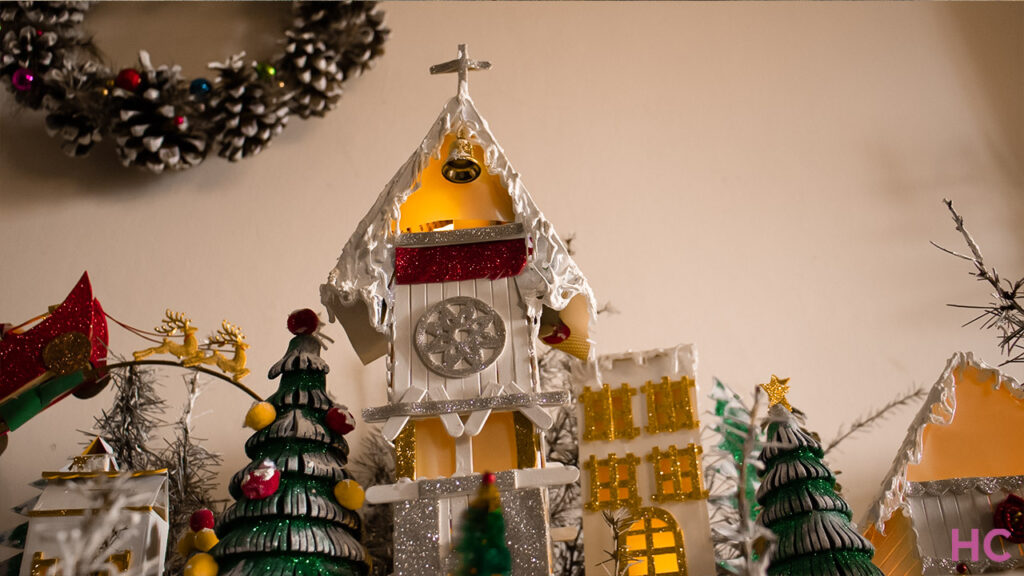
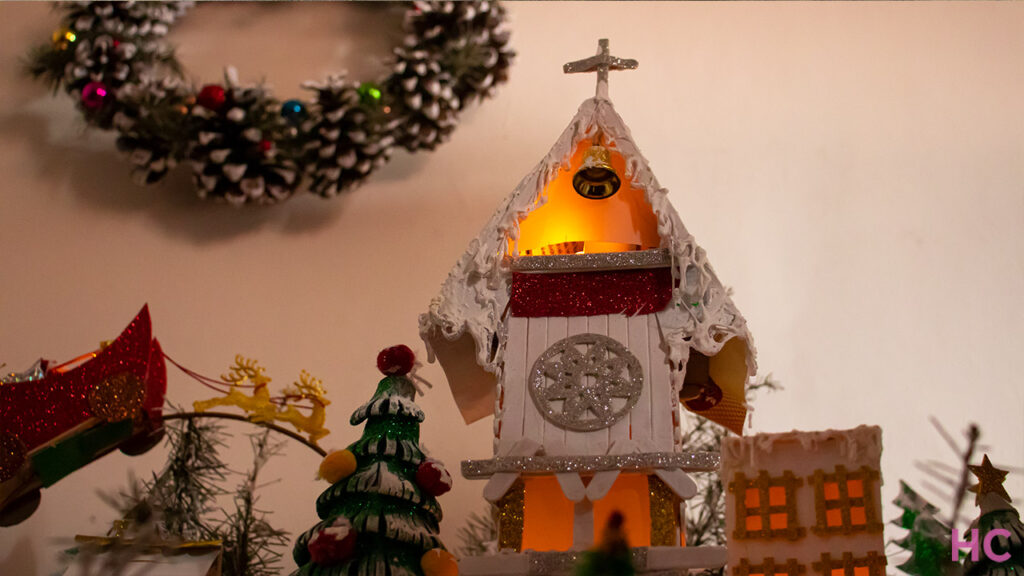
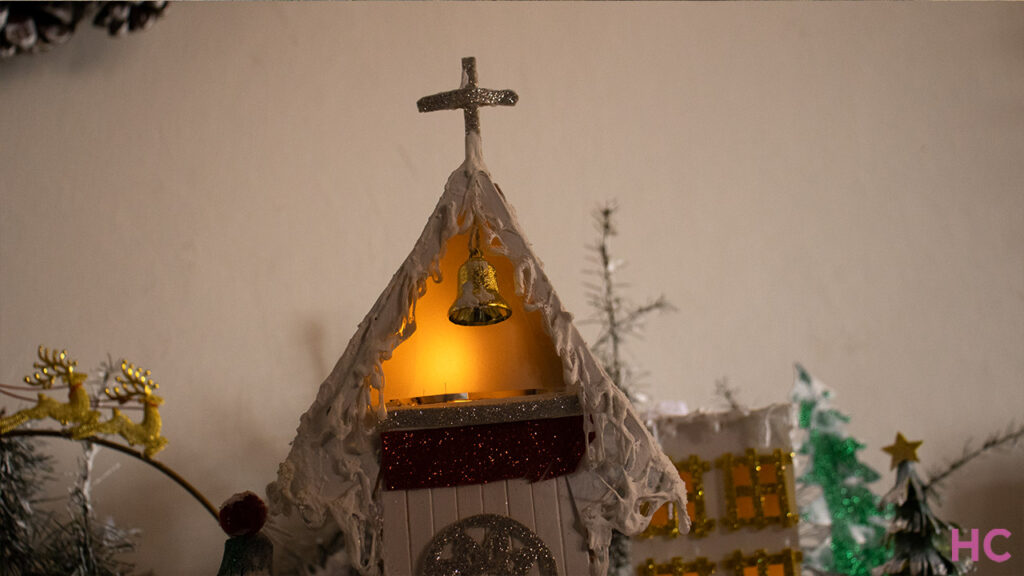
Cut a cardboard into long rectangular pieces to make mini houses. Popsicle sticks can also be glued together to make a church and some other structures
- Paint them white
Once the buildings are ready, you can color the houses white. Don’t forget to put chimneys on the top for Santa to drop in with gifts
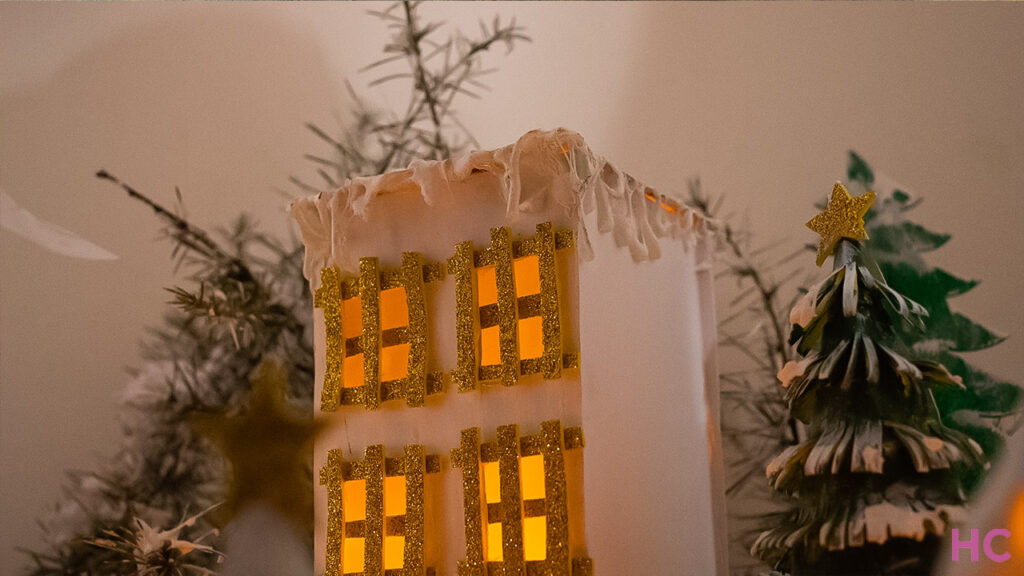
- Make doors and windows
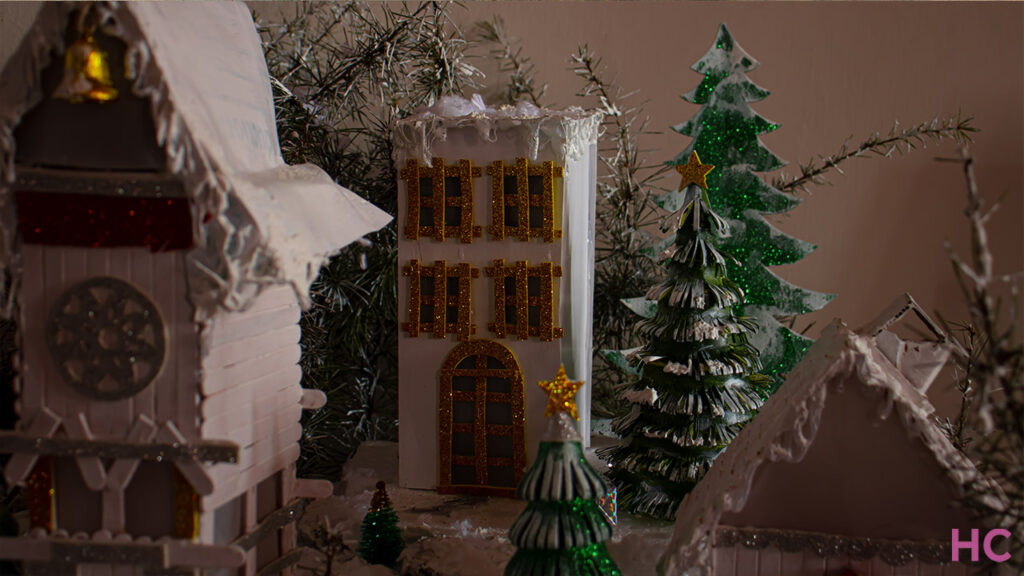
Next, cut thin strips out of silver and gold glitter paper to make windows and doors on the mini houses. Add a parchment of butter paper inside the doors and windows to create the illusion of glass panes
- Prepare the base
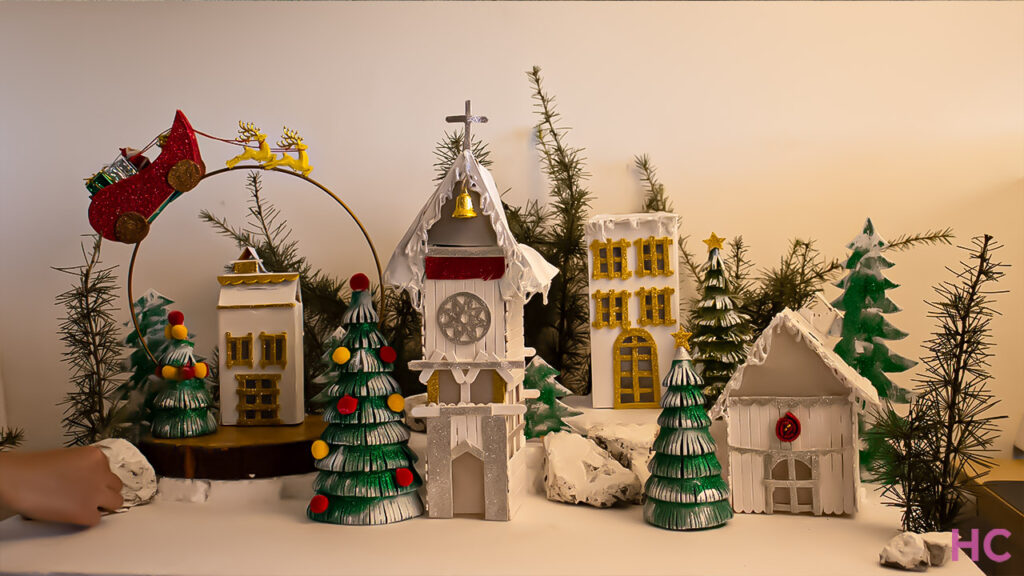
Once the houses are ready, start creating the display. Begin by arranging various-sized Styrofoam on a flat surface (I have used a table) to make the base of the village terrain. Insert a few fresh pine branches in the Styrofoam to create a forest backdrop
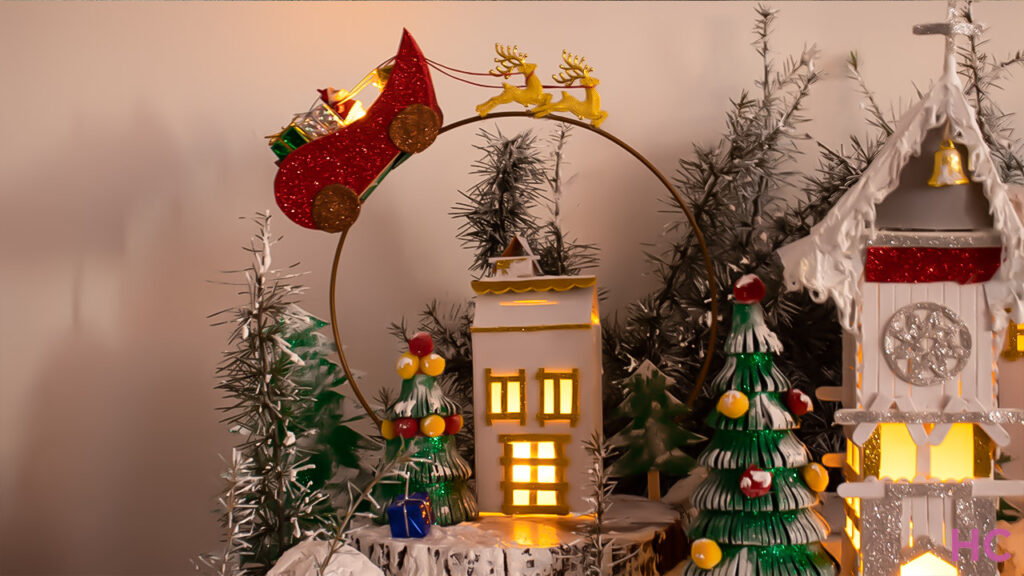
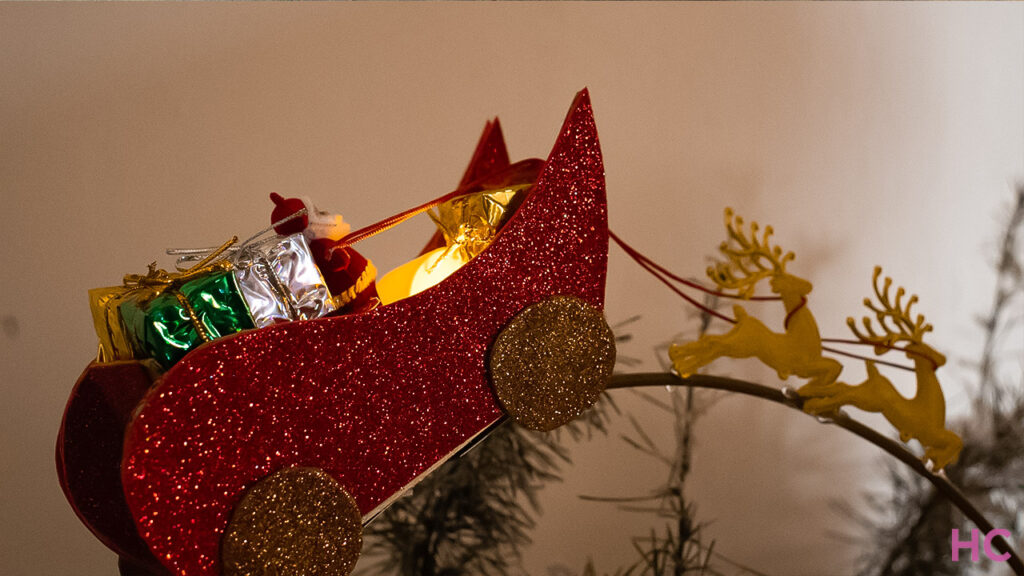
- Craft a cardboard sleigh
Now in the foreground, place all the houses (you have made) one by one wherever you want them. You can throw a Santa’s sleigh in the mix. For this, make a cardboard sleigh and decorate it with red glitter paper. Mount it on a wreath ring (to show Santa riding high above the village). Finish it with a couple of reindeers pulling the sleigh Santa’s riding
- Set up the landscape
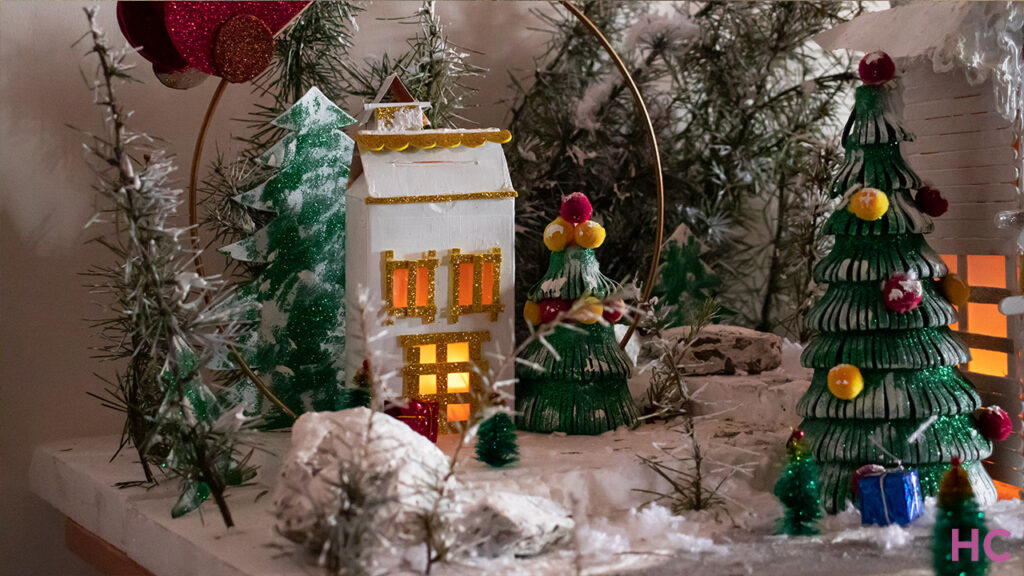
White paint crusted stones and place them strategically on the Styrofoam to create rocky ground in the village scene. Next, make some trees out of green glitter paper, dab them with white paint, and top with pom poms. Glue the trees to the surface around the houses
- Prepare faux snow
Now it is time to make faux snow. Pour white glue into a plastic cup, add an equal amount of baking soda and a few drops of white paint. Mix well with a spoon or popsicle stick. Blend the mixture well until it has a thick consistency. If it feels runny, add more baking soda
- Let it snow
Once this snowy mixture is ready, apply it to your village setup. You can use cotton as a substitute but I personally find this method more appealing. Encrust the trees, stones, trees, and houses with the mixture and also cover the ground with it
- Pave the road
Before the snow dries up, mark out a road, pathway using gray color on the base
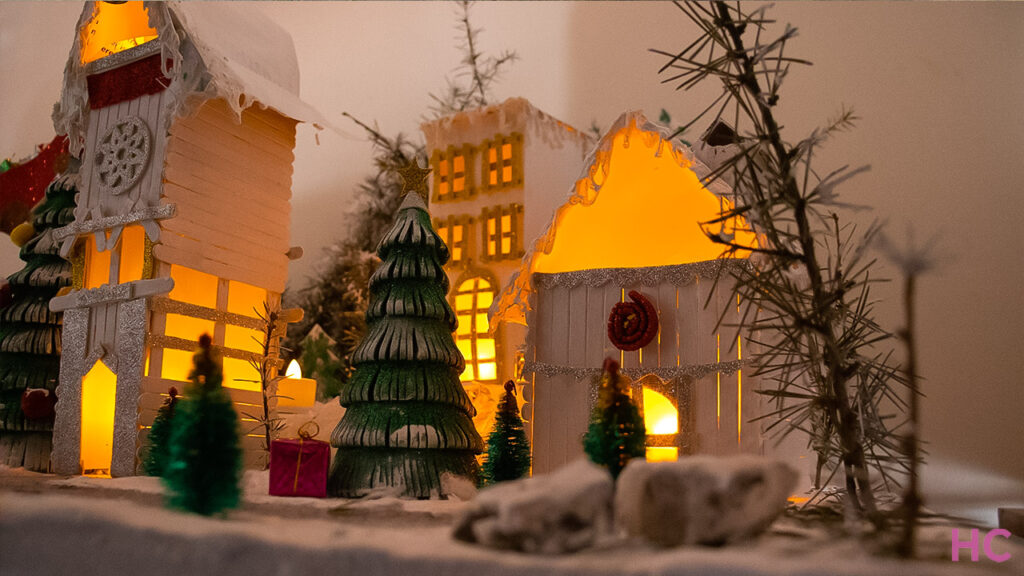
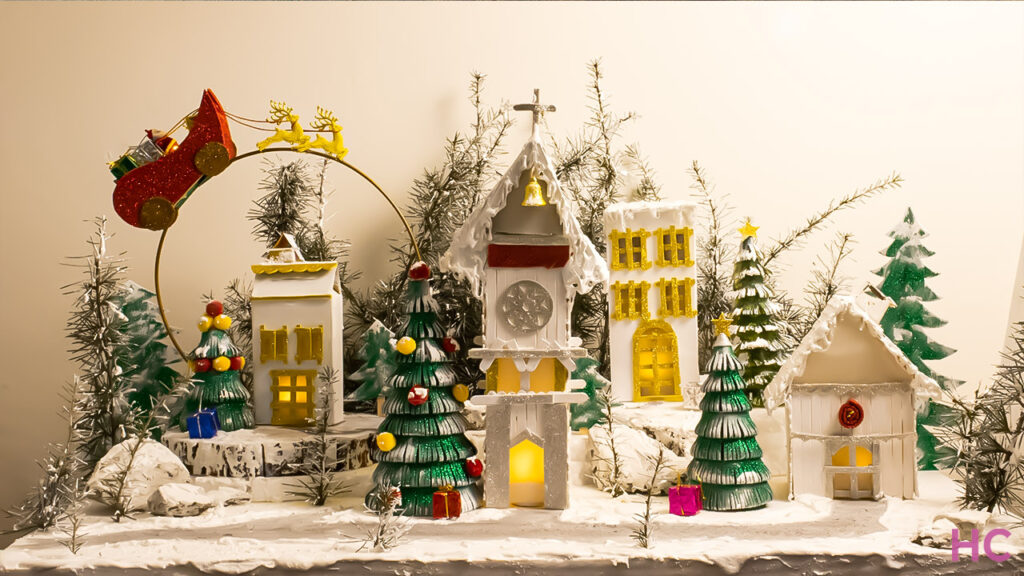
- Light it up
The day setting of the village is complete. For a warm night look, place one or two tea lights inside each house and watch them glow as Santa brings joy and presents to your DIY snowy Christmas village