


Carving pumpkins to create jovial jack-o-lanterns is one of the most cherished Halloween traditions that people still follow. It is a fun activity that leads to the creation of iconic Halloween sculptures and you also get to spend some extra time with your family.
A pumpkin can be turned into various decorative themes – be it funny/spooky face sculpting or etching facial imprint of your favorite celebrity on it. But carved grins and scary engravings can’t really bring a smile to your kids’ face. So forget all the horrifying stuff, and create something cordial and welcoming to make your little ones happy. Something like a DIY pumpkin photo frame that glows in the night.
It not only looks fascinating, but it’s quite easy to make. Even beginners or people without artistic nerve can make it themselves. Moreover, a photograph of your family or kids will add a beautiful personalized touch to the Halloween decor. Sounds cool, right? So stop thinking much and start preparing for this amazing decorative item.
To begin with, you need to collect the ingredients given below:
• A pumpkin (preferably with one flat side)
• Any old photo frame
• Your favorite family photograph
• Knife or other pumpkin-carving tools
• Other tools like hammer and nails
Once you gather all the aforementioned elements, you need to start following the steps mentioned here to carve your own pumpkin photo frame.
1. Search for a perfect picture
Search your favorite family picture, go through old albums and get the best one. Bonus points, if you get your hands on an old family photograph where you and your folks are all dressed up in scary Halloween costumes. Now fix the picture onto any old photo frame (prefer a traditional one).


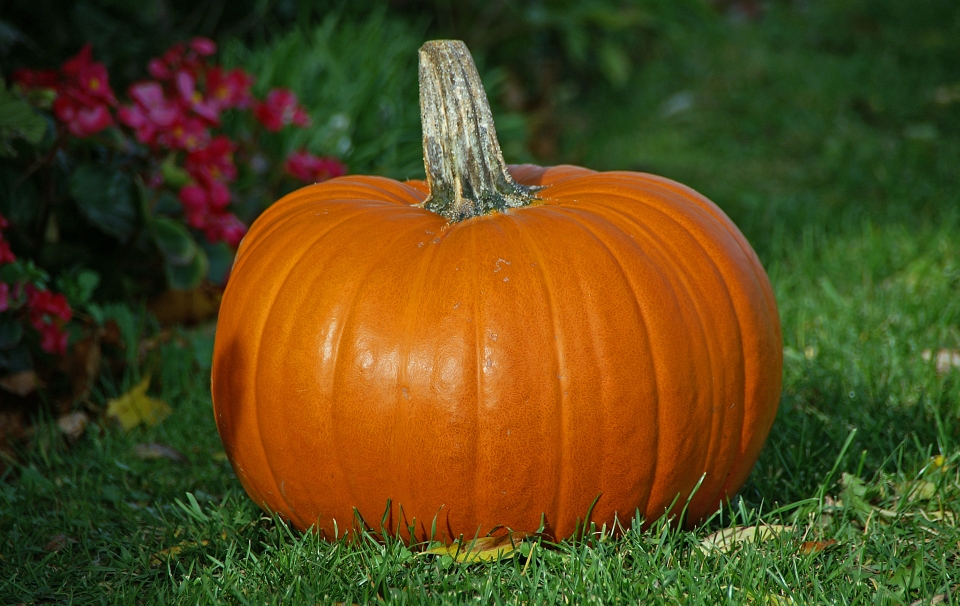
2. Get a pumpkin
You need to search really bad for this one. This is because here we need a pumpkin with one flat side. Pat your back, if you’re able to find the one. Now, it would be quite convenient to fix a photo frame on it.

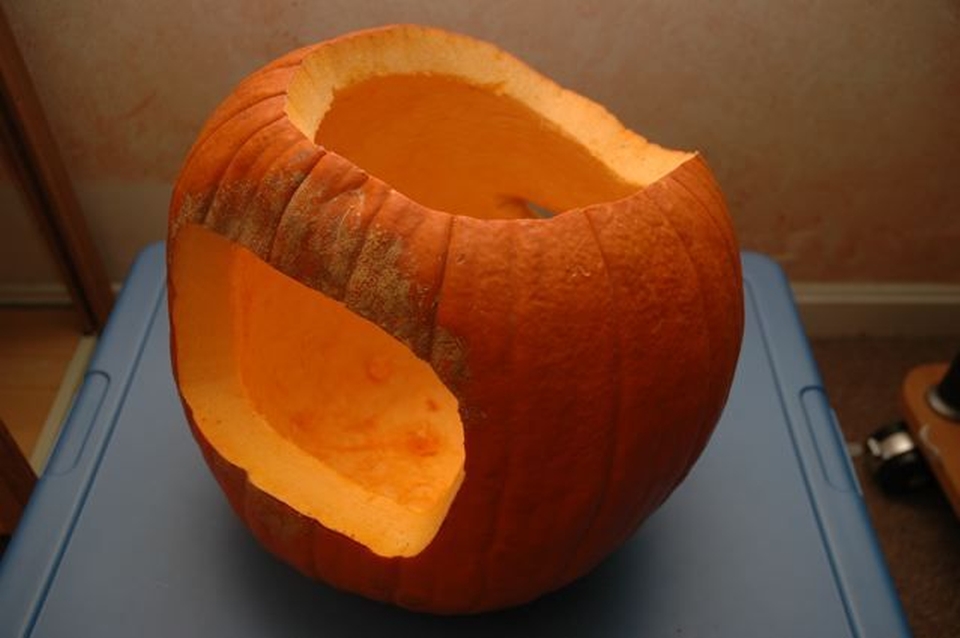
3. Cut top and side section of the pumpkin
Once you find a perfect pumpkin, you can cut its top part, remove seeds and further cut a rectangular, oval or square hole depending on the shape of your photo frame.

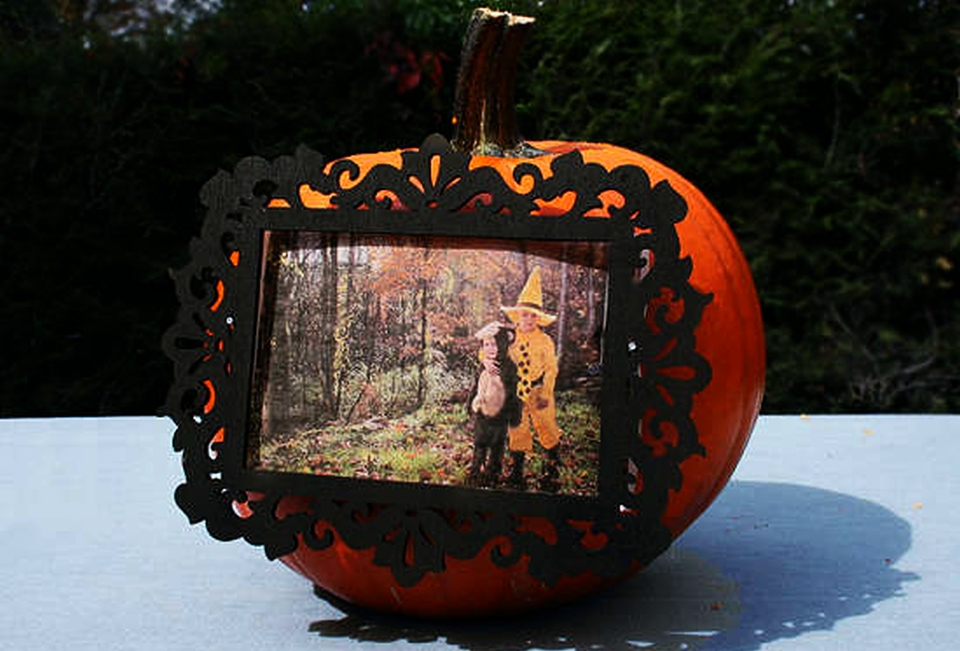
4. Attach photo frame onto the gap
Now you need to attach the old photo frame onto the gap with nails. For attaching the frame you might need a hammer but use it with lighter strokes or it’ll ruin your pumpkin.

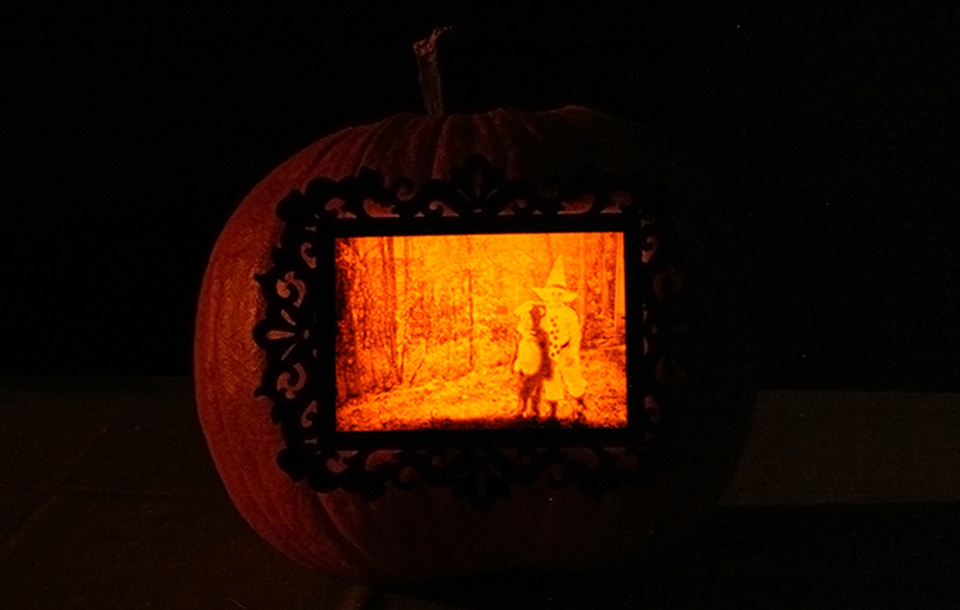
5. Add a low flame candle
Within the pumpkin, you can place a low flame candle for magical luminary at night. Wait until dark, and your jack-o-lantern will light up with an eerie glow.

Well, that was pretty easy. Right? So try this DIY gourdy illuminating pumpkin photo frame craft at home by following the above tutorial. You can thank us later.


