


A bathroom vent fan is an essential part of the space. It not only prevents moisture buildup but also removes unwanted odor, reduces mold problems, and so much more. However, with time, the old fan wears out, and when your fan stops exhausting air well enough, or is too loud, it’s time to replace it with a new and more efficient one.
You can replace a bathroom vent fan yourself as a DIY project; you just need the right tools, basic electrical and carpentry skills, and a lot of patience. This way, it will not only save you money but will also teach you something new. However, before you get on with doing it yourself, there are some things that you must consider.
First, you need to determine how quiet you want your bathroom fan to be. Second, the placement of the fan matters a lot, but only when you are installing a new bathroom fan. Otherwise, you can put the new one in a similar spot. Third, gather all the tools and supplies you need to assemble the fan. To replace a bathroom fan securely yourself, follow the steps on how to achieve satisfactory results.
Also Read: How to Securely Install a Towel Bar: An Easy DIY Guide
Things You’ll Need:
- Power drill
- Screwdriver
- Combination pliers
- Jigsaw
- Foil duct tape
- Framing square
- Pencil
- Vent cap
- Flexible duct pipe
- Caulk
- Screws
- Wire nuts
- Safety goggles
- Mask
- New vent fan
How to Replace a Bathroom Vent Fan by Yourself
Cut the Power to Bathroom at the Circuit Breaker
Before you replace the vent fan, it is safe to switch off the electrical power to the bathroom fan at the circuit breaker. This is a necessary step that should not be missed, as this will keep you from getting electrocuted.
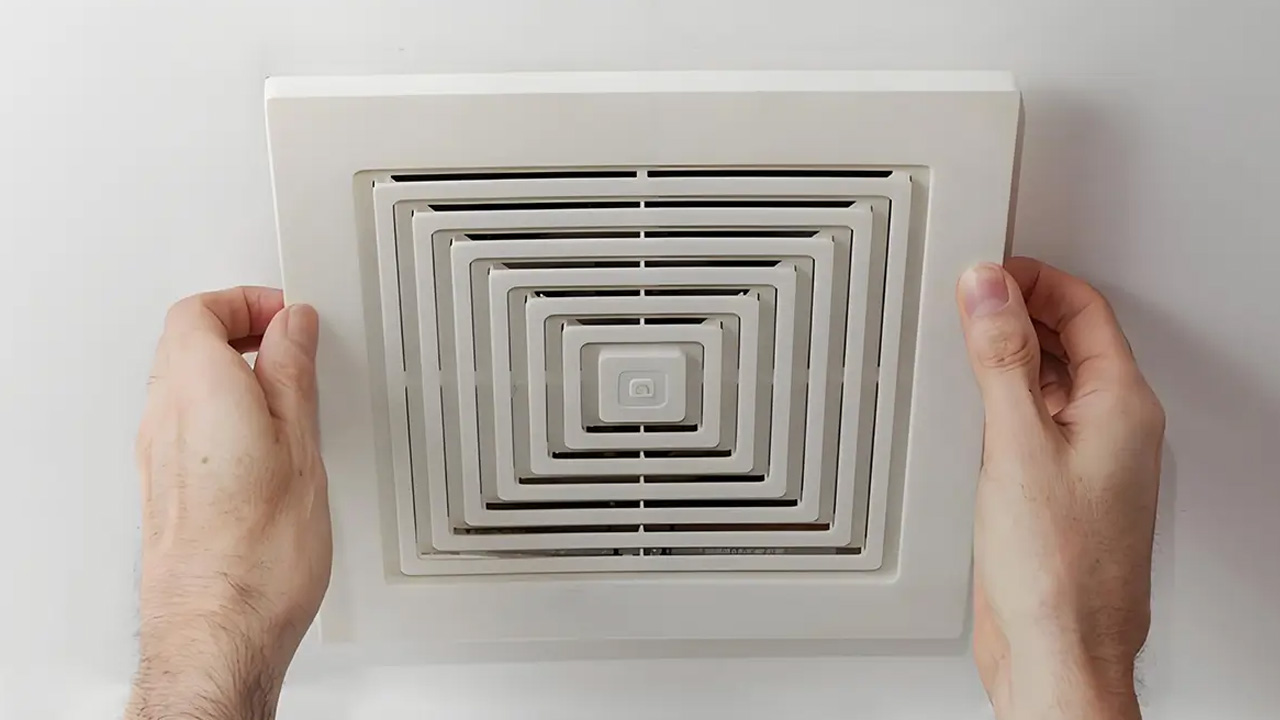
Remove the Fan Grille
Next, remove the fan grille by pulling it downward. Then, unscrew the two metal clips and detach the grille from the fan housing. There will be a lot of dust and lint accumulated, so you’d better wear goggles, gloves, and a mask.
Remove the Bathroom Fan
The next step involves removing the bathroom fan. First, take out the screws from the bottom and the side of the fan housing. Remove the connectors and loosen the wires to disconnect them. Then, twist the cable clamp to free the electrical cable from the fan housing.
Remove the Bathroom Fan
Loosen the screws on the bottom of the fan housing or the sides. Pull the fan housing, along with the attached blower/motor unit. Have someone hold housing while you remove the duct and wires from the fan.
Attach the Fan’s Electrical Wires and the Duct
It’s time to attach the wires in the bathroom fan to the wires from the ceiling. Just make sure that you match colors: black to black, white to white, and green to green. After you are done with the wires, attach the duct to the outlet on the fan housing. Secure the duct properly with duct tape or clamps.
Attach the Fan Housing to the Joists
You need to attach the fan housing back to the joists, secure it in place using screws. Some exhaust fans would require the screws to go through the side of the housing.
Test the Bathroom Fan
Finally, you can test the bathroom fan to see if it’s working properly. Switch on the circuit breaker and turn on the bathroom. If you are not satisfied, you can go outside to the vent and test for proper airflow.
Replace the Grille
Once you are done with the entire process of replacing the fan, it’s time to replace the grille as well. Just roll the two wire clips on the grille together. Then, adjust the clips into the receiving slots on the fan housing. Keep adjusting until the grille locks firmly in place against the ceiling.
Final Word
If you follow these easy steps, you will be able to efficiently replace your bathroom exhaust fan by yourself. And if you succeed, you will give your bathroom a new life, free from moisture, mold, and odor. However, there’s no harm in calling a professional, just in case some fans require attic access.


