


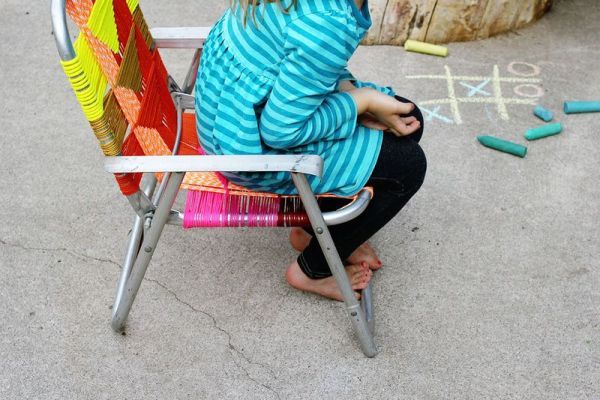
Recently, we came across an old aluminum chair which was renewed beautifully by a blogger, Rachel Denbow from Colorado. Instead of discarding an old, kid’s size chair lying in her house, she decided to give it a colorful makeover using paracord and macramé cord in varying colors. Denbow dusted off the chair’s frame and wrapped cords of different colors in a geometric pattern around it, which resulted in a vibrantly colored aluminum chair for her lawn.

Things you’ll need-
The materials required for this makeover are scissors, flathead screwdrivers, rubber bands, paracords and macramé cords in different colors and sizes; according to the chair’s size.
You can also give a new look to your old aluminum chair following these steps:
1. Dust off your old chair and remove the previous webbing, straps, and screwdrivers from the chair.
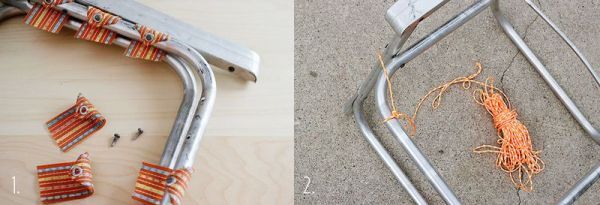

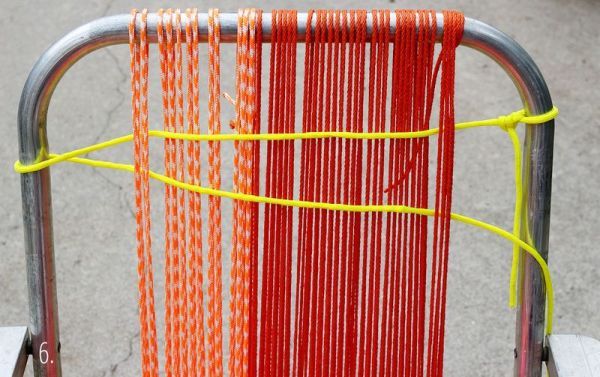
2. Select cords of any color according to your preference, and use a rubber band to avoid tangling of these cords. After that tie one end of a cord to the chair’s frame.
3. Start wrapping up the cord around chair’s frame, passing through its central bend to top of the frame. Then, wrap back from top frame of the seat to its bottom edge from where you started.
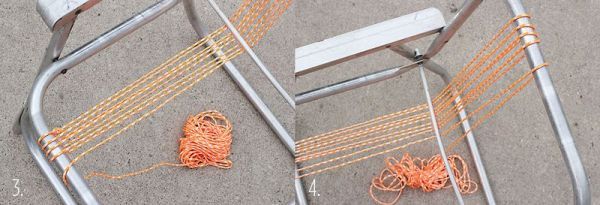
4. Similarly, keep wrapping cord from seat to back frame of the chair until you want to switch to a different colored cord. The next colored cord is also tied and wrapped in a same way like the previous cord.
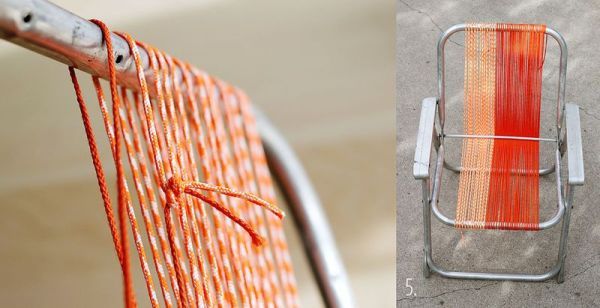
5. Keep weaving until you are near the other part of the flat frame. A negative space at its round corner as shown in the picture is supposed to be there.

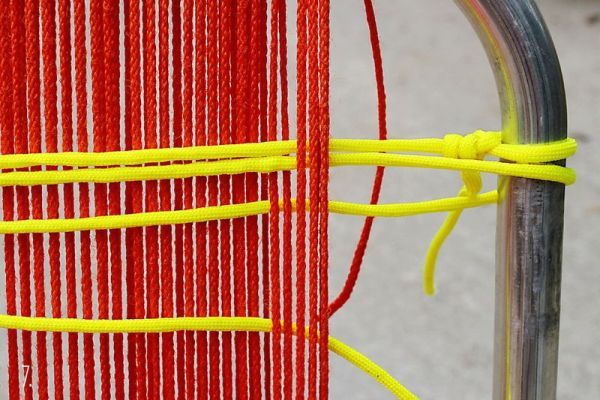
6. Now, start weaving in other direction and tie a knot on side of the frame. To make a triangular pattern take the tied cord under first four already woven rows and then take it out.
Tuck the cord back in so that four rows are left on its other end. After that, wrap the cord over the top of the frame on its other side and go back similarly like before.

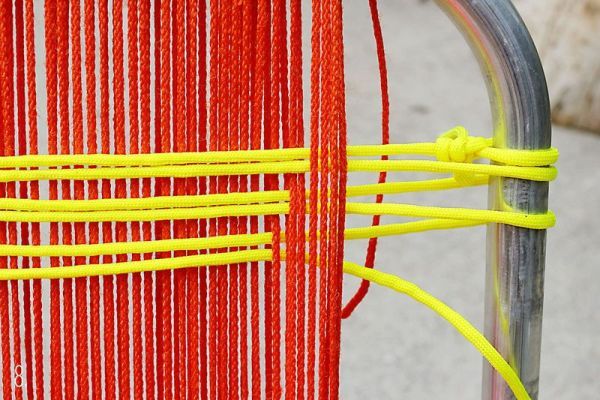
7. Start wrapping over the starting side of the frame to come up from under the first four and then the next two rows, skipping total six rows. Repeat the same in its opposite direction.
8. Repeat the same pattern reducing two rows every time you go across and again follow back the same way you started. This will result in forming a triangular pattern on its seat and backrest.
9. In this particular child-sized chair, three triangles are made each on its seat and back. The number of triangles may vary depending on the size of a chair you choose for the remodeling.
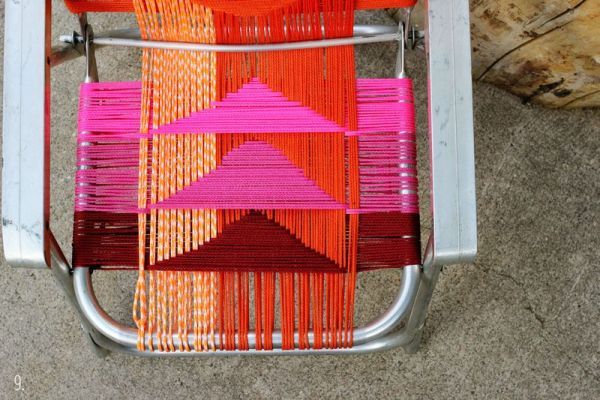
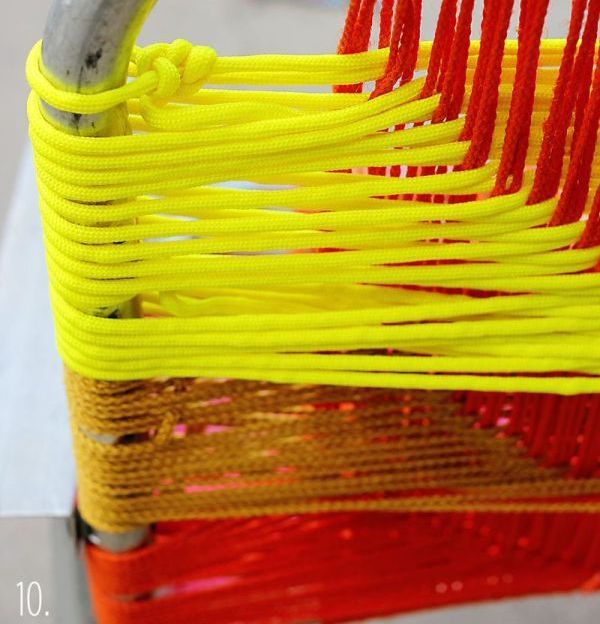
10. Finally, your chair is ready with a firm seat and back rest. Trim loose tails of the knots at its end to avoid a messy look.

You can also create a colorful vintage patterned aluminum chair for your indoor or outdoor use similar to Rachel Denbow’s creation. This colorful chair will definitely brighten up any area where it’s kept and is very easy to make on a weekend during spare hours.


