
No matter how many items are available on the market for Halloween decoration, we still like carving pumpkins for the festival of the dead. We cannot imagine our Halloween without lovely and wicked Jack-o’-lanterns around us. And the activity becomes a whole lot of fun when the entire family gathers to carve a pumpkin to be the best in the neighborhood. Have no or little DIY skills? Don’t stress yourself! Just go through this how to carve pumpkin guide that lists 11 easy steps to carve a neat and clean Jack-o’-lantern like a pro this Halloween.
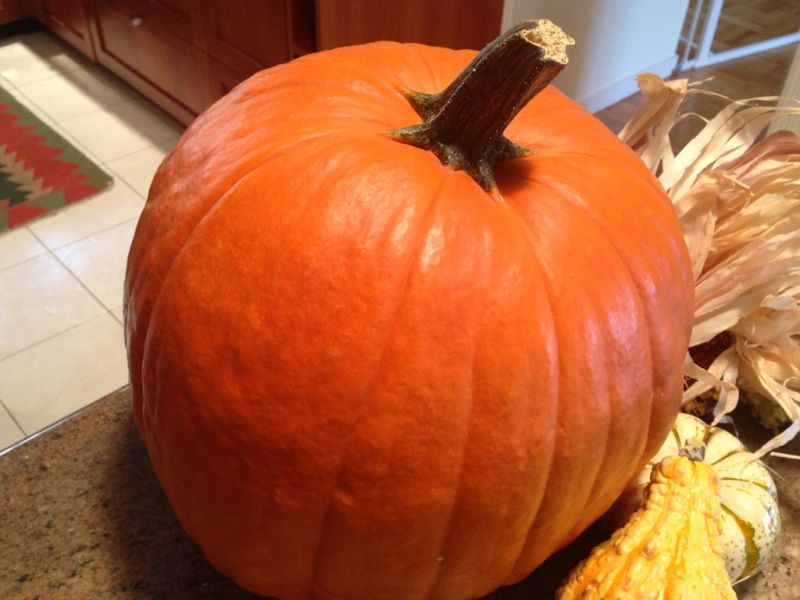
Select a fresh pumpkin with a stem
Carving a perfect Jack-o’-lantern requires selecting a healthy pumpkin. Make sure the pumpkin you are picking is fresh, bright and has a green stem on it. A fresh and soft pumpkin will make carving easy, and reduce your chances of getting injured while carving.
Ensure your pumpkin has a fine shape, size, and color, and is good enough to look perfect in your selected design. It is not necessarily important to select a round pumpkin, but it should have a nice flat bottom. As pumpkins tend to rot early, do not buy it too much in advance. Consider buying one a few days before the spooky night, you have to ensure you have enough time on your hand to carve it.
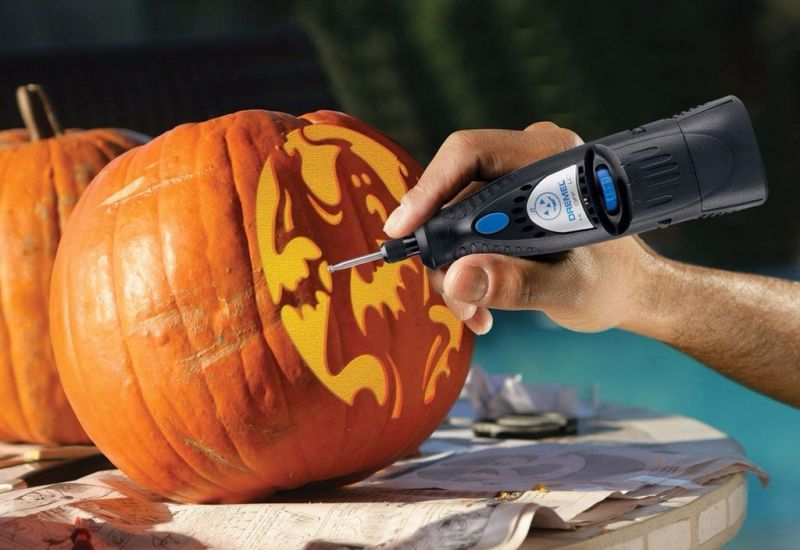
Choose carving tools very carefully
There are a few safety concerns to keep in mind while carving a pumpkin, especially when you have kids in your team. Of course, you need something sharp and serrated to cut the pumpkin crown and to shape it into a lantern, but remember that your kids cannot handle such tools. Your kitchen knife will work, but you need to make absolutely certain that you are practicing safety and care with little kids.
With that in mind, you can make good family memories. Consider using pumpkin carving tools for the best results. To remove seeds and fibers from the pumpkin, use a large serving spoon or an ice cream scoop. You can involve your kids in this task, as it’s not a risky job like dealing with knives and cutters. Do keep some toothpicks near you to correct mistakes and for fine detailing later on.
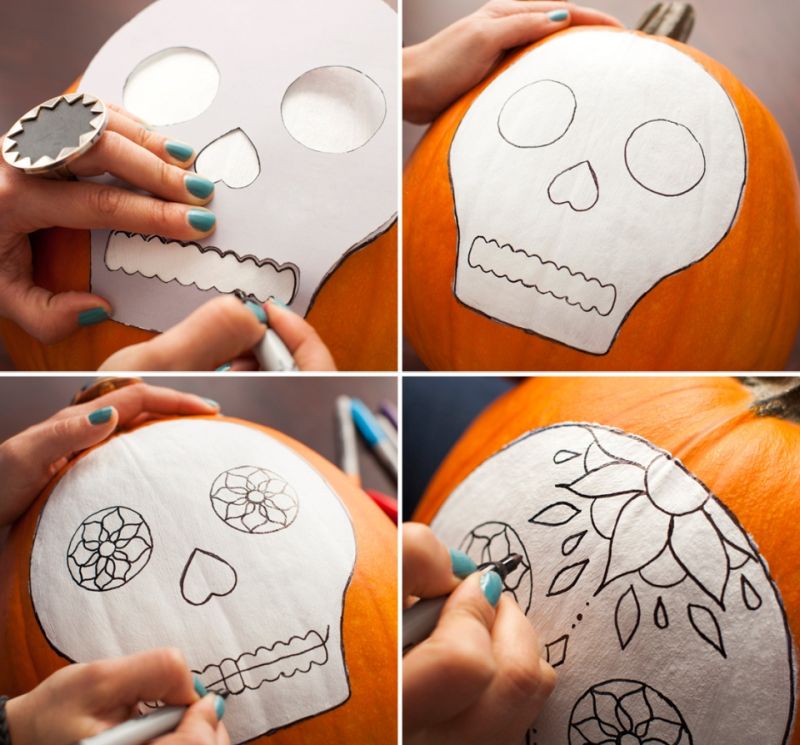
Be specific about your design – use tracing paper
Before you start cutting a pumpkin, be clear with what design or face you want on your lantern. Whether you want to create a spooky face, witch, cat, spider or a haunted house, it is always better to work cautiously. Instead of outlining the design directly on a pumpkin, trace the design on a paper.
Carve out the useless space on the paper so that you can use it as a stencil to trace the design on a pumpkin. Use your stencil, marker, and tape to outline the design perfectly on a pumpkin. You can also go for readymade pumpkin carving templates to save yourself some time.
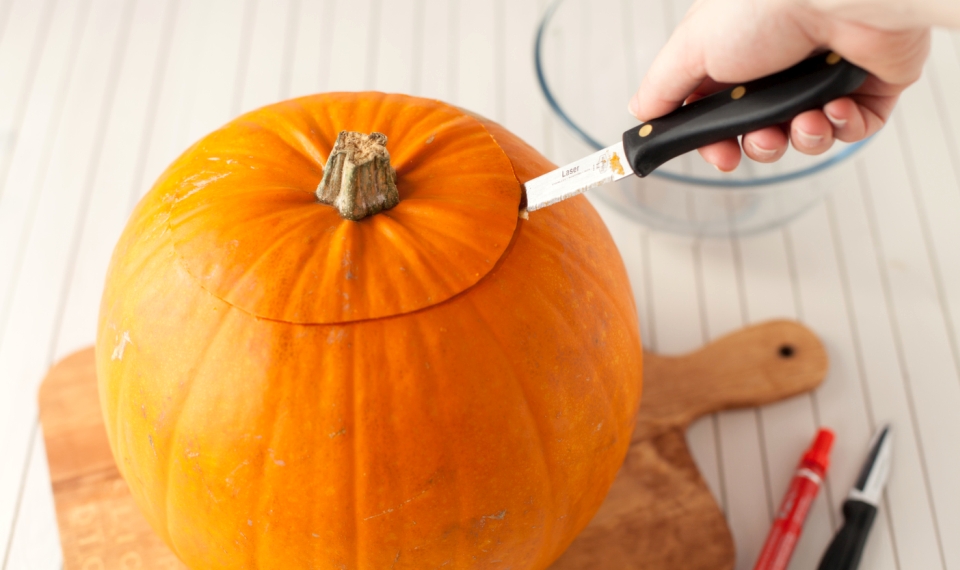
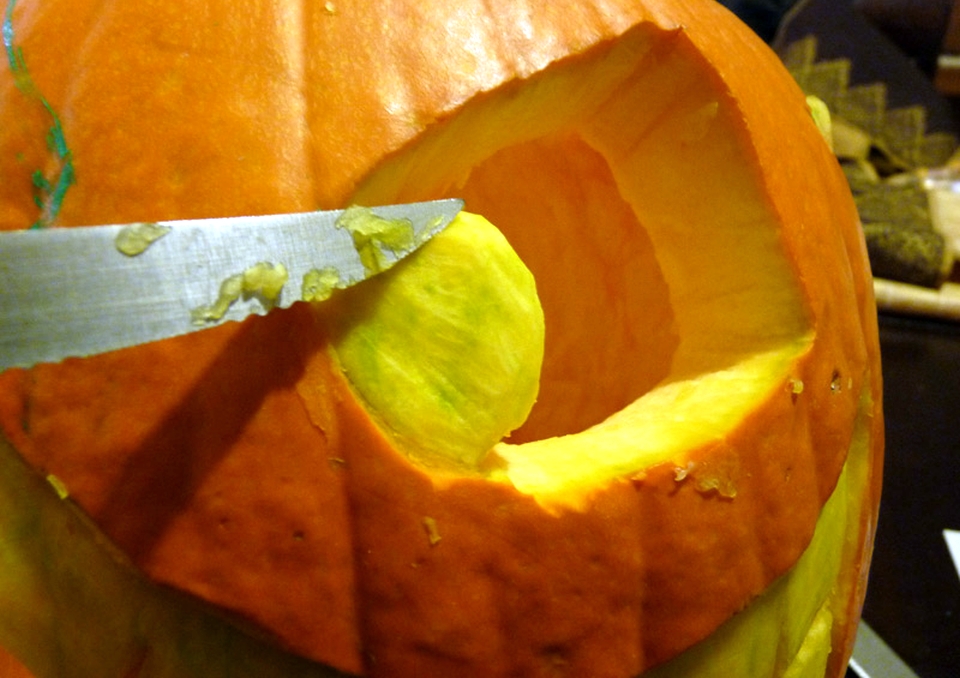
Cut the crown using a serrated knife
You’ve traced your design, now it’s time to cut the crown using a serrated knife. You have to be very careful while cutting the pumpkin lid since one wrong move can make the lid fall inside the pumpkin and ruin everything. Cut the crown keeping the knife in about 40° angle, it will not let your jack-o’-lamp’s hat fall inside. When you are done, keep the crown in a safe place to use later.
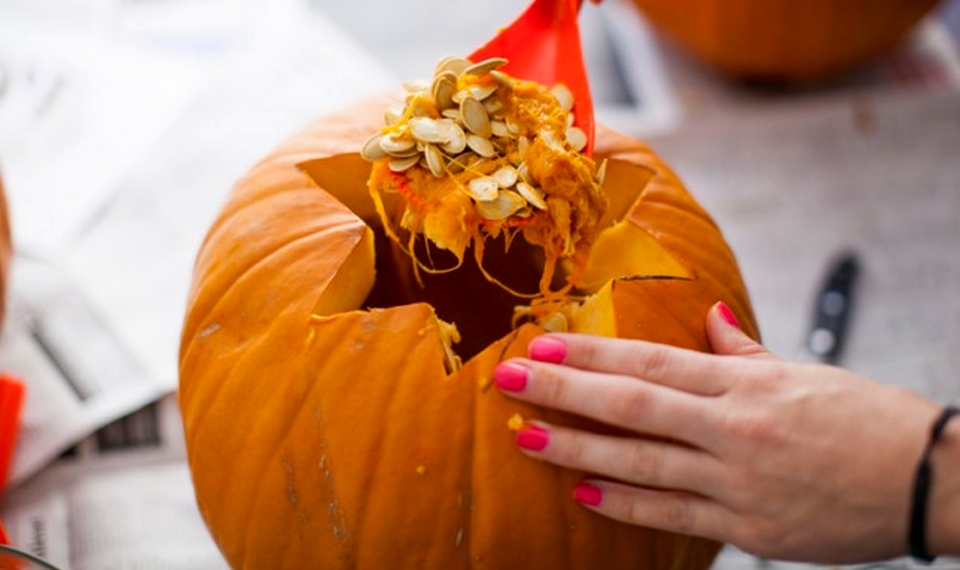
Scoop seeds and fiber out
You’ve removed the crown out of a pumpkin, now you can scoop the waste out easily. Scoop everything out using a serving spoon or ice cream scoop, Do it gently so that the design you traced isn’t hampered. Make sure your pumpkin is all empty and has enough space to accommodate candle or light.
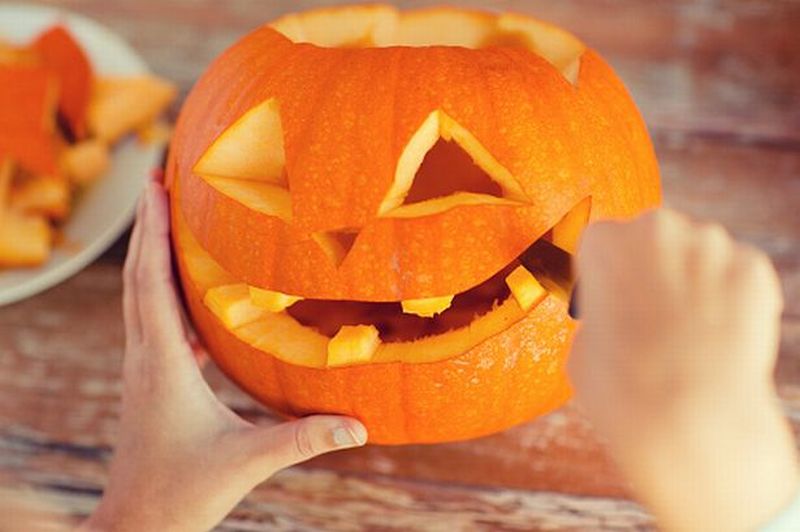
Carve the pumpkin face
Pumpkin carving tools are generally recommended, however, using a kitchen knife is not a bad idea, but it requires extra care to handle. When cutting the outline, do not cut the making angles, cut straight in the beginning, and then carve it using a pointed tool to define angles. In this manner, you’ll achieve a clean finish with minimum errors.
Also Read: Inspiring Pumpkin Carving Ideas for Halloween
Add finishing touch using a toothpick
When you are done with carving the face, give your lantern neat and clean details using a toothpick. A toothpick will help you work on intricate details more appropriately.
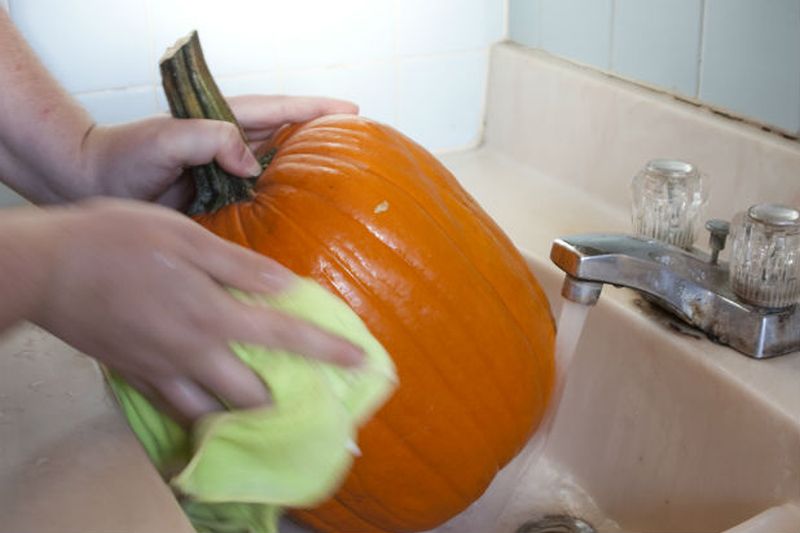
Rinse the pumpkin
After your pumpkin has been carved, rinse it off with cold water to get rid of extra sittings and fibers. Take a large bucket and fill it with cold water. Add pumpkin preservative in water to wash pumpkin gently. Let the pumpkin soak in water for approximately two minutes. Be sure to hold the pumpkin down in the bucket. After removing the pumpkin from the water, let it dry itself or you can pat dry it with a soft cloth if you want.
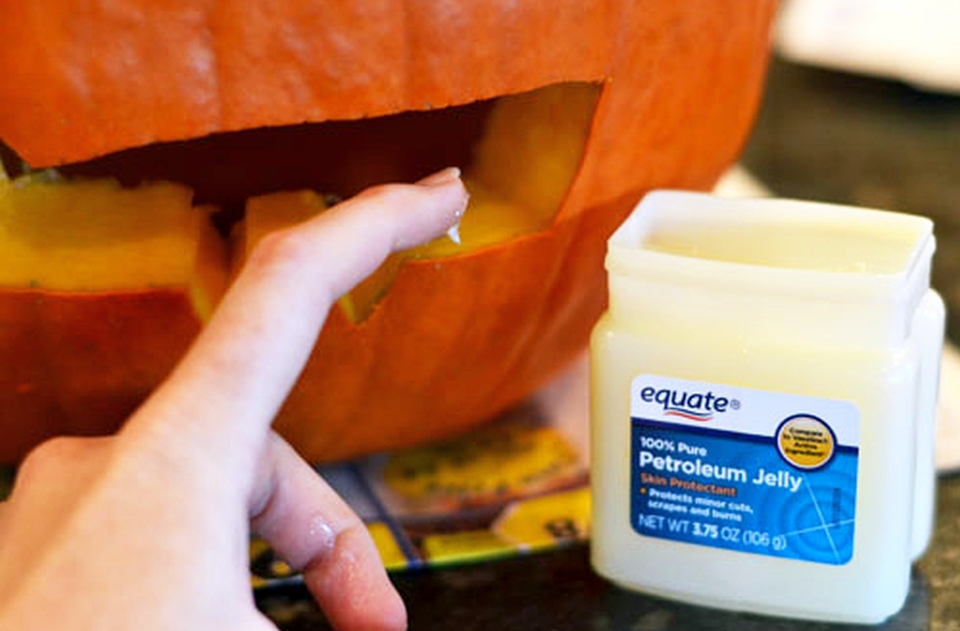
Prevent your pumpkin from rotting
It is very important to prevent your pumpkin from rotting to ensure a long life. Consider storing your carved pumpkin in a cool and dry place. You can apply petroleum jelly around the carved sections every day to lock moisture, this will help you add to the life of the carved pumpkin.
Sprinkle some cinnamon inside
Obviously, no one likes their house smelling like a pumpkin. To add some fragrance, sprinkle cinnamon inside the Jack-o’-lantern, and with the lights, you’ll have the pumpkin giving out a fine aroma.

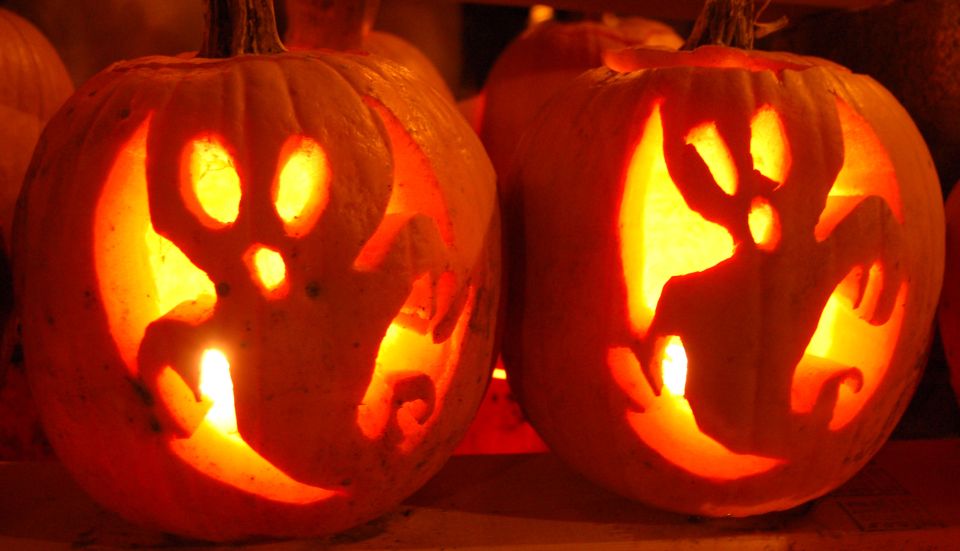
Light up your Jack-o’-lantern
Your Jack-o’-lantern is ready, and it’s now time to illuminate it with your favorite candles. For a more soothing aroma consider adding scented candles.
Follow Homecrux on Google News!


