River tables are wonderfully unique, beautiful and functional works of art. We previously talked about unique rivers tables that match well with different interiors, and this time we bring forth a stunning DIY creation of epoxy resin river table with sinker cypress by Jeremy Hoffpauir, the creator of Do-Daddy. Sinker cypress has become a huge design feature in home and businesses. The log is soft, having unique grain patterns, different colors, and durability.
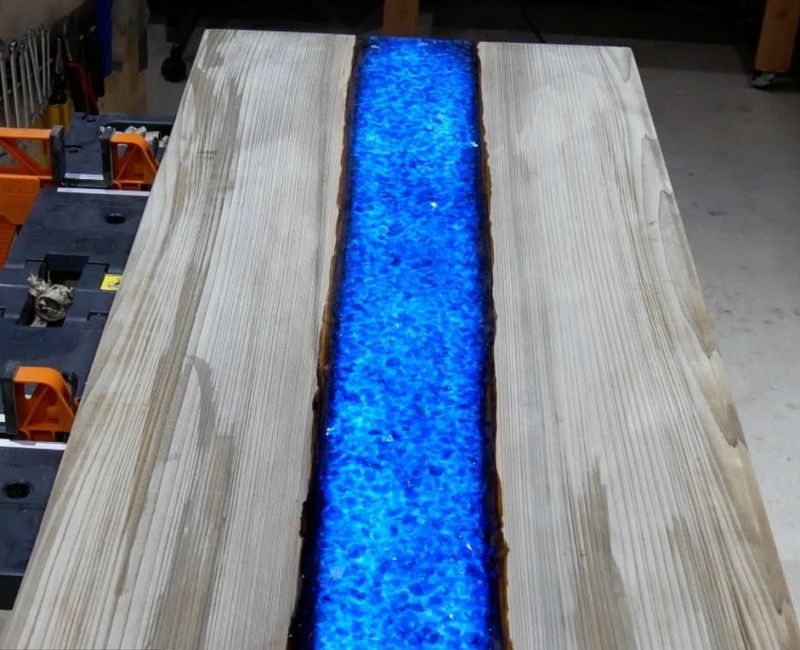
What makes this live edge river table different from others is that it comes with a unique feature of glowing in the dark without lights. Let’s take a look how you can create to DIY one using sinker cypress wood.


Steps involved in creating a glowing river table:
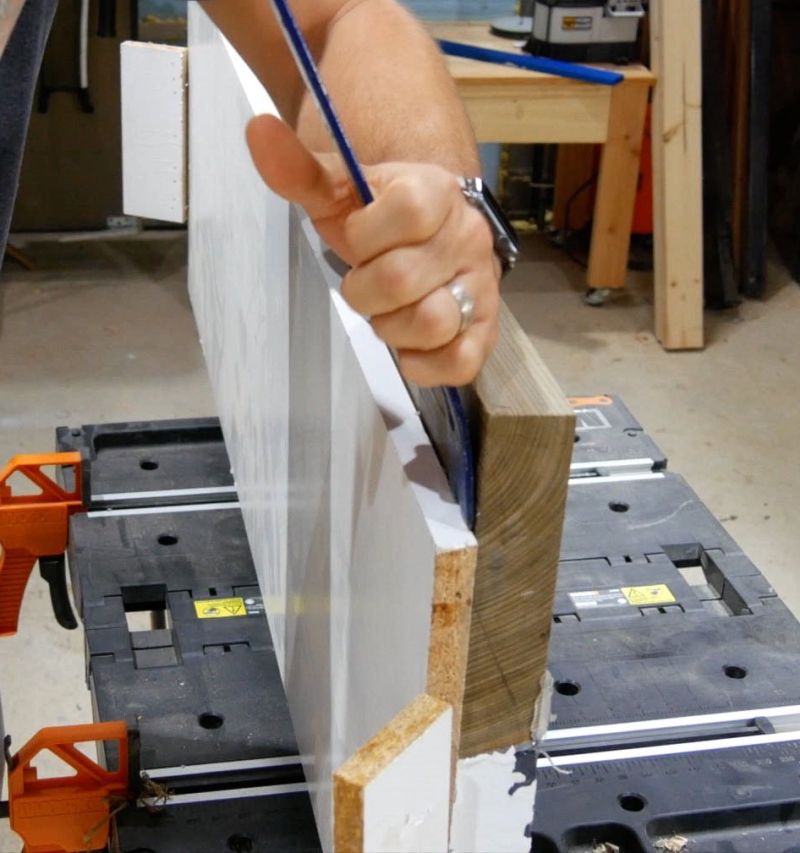
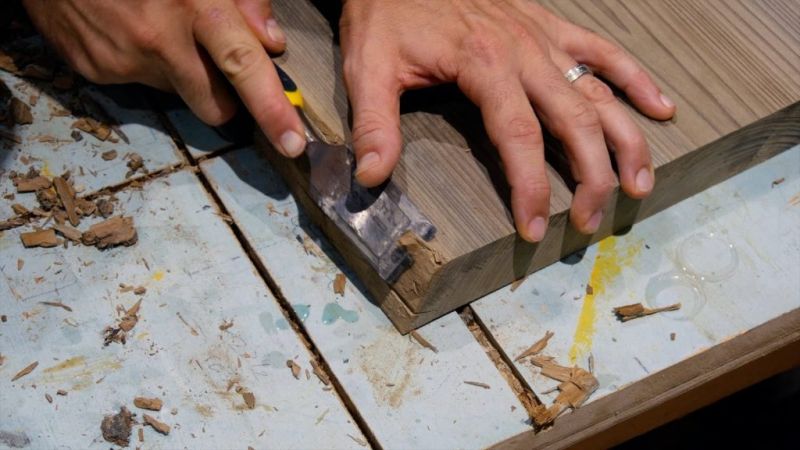
Remove the Bark: It is the first step taken in creating a shiny live edge furniture piece. Peel the loose bark with a chisel, or a rubber sledgehammer (just in case you are not able to strip the bark), until there’s a smooth surface to start with.
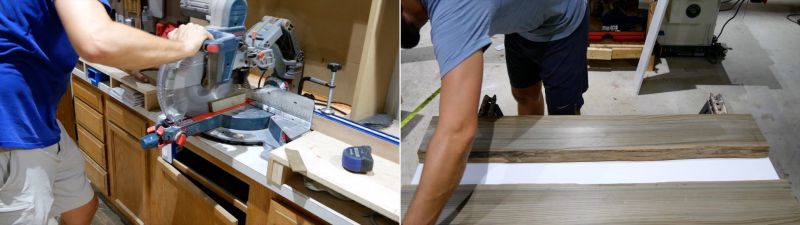
Milling, Planning, and Sanding: This involves giving shape to the table like achieving straight sides, a smooth surface and square end with no loose debris. The process also includes leveling the table to remove the harsh areas, followed by removing the wobbly debris from each live edge.


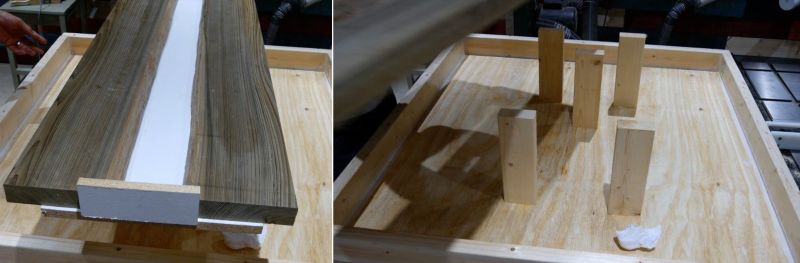
Use of Melamine Scraps: Using Melamine in creating river table is the most important part. It is utilized to cover the bottom of each board where the epoxy resin will be poured to create the river. You need to ensure that each board is properly fixed to the melamine giving the table a solid base. Attach 2 pieces of melamine a bit higher than the melamine plus sinker cypress that holds the epoxy resin pretty well.

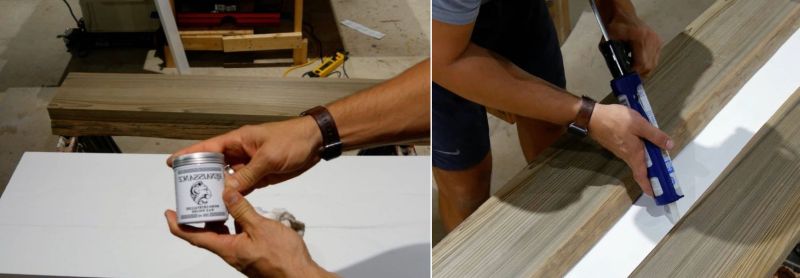
Apply the Furniture Wax: Next step includes coating the melamine with Renaissance Furniture wax that is bit thicker, greasy and prevents the epoxy resin from attaching to the melamine. After it’s done, you can seal the melamine ensuring there is no leakage from either side of the board.

Epoxy Resin Tub: The feed table’s underside is used seizing the excess epoxy resin. Just place your table on the 2×4 pieces which extend beyond vertically, and will help in holding your table. You can lock the sinker cypress to the melamine with waste pieces of plywood with bar clamps.

Test Glow Powder: The main ingredient used in creating a stunning river table is the glow powder. If this is not accurate, there is no way you’ll be able to do justice to the river table. It is imperative to test the glow powder before is it is used on the base of the epoxy resin layers. You can buy a good quality powder from any online store, or from your nearby market. The powder comes with a black light to verify the color and worth of the powder.

Also Read: 20+ Best River Tables to Buy
The process to create river table:
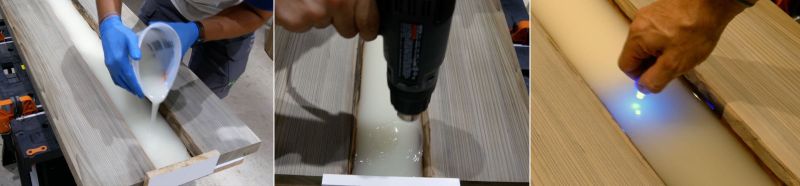
First epoxy resin pour: Using best quality of the epoxy resin is always an advantage. You can utilize 12 ounces of hardener and 12 ounces of resin (as per instruction), and blend them until the epoxy resin is hazy white. It is important to stir the mixture and scrape the sides of the mixing cup. Make sure not to beat the resin while stirring, so as to avoid bubbles.
Add 2 ounces of glow powder (depending on how much glow you need). After getting a fine consistency of the mixture, pour the first bit of the epoxy resin. Remove the bubbles of the material with a heat gun, and make sure to clean the table with a dirt-free cloth before pouring the material.


Second epoxy resin pour: The second pour is done after 24 hours, with the same amount, when the first resin is completely settled and glued to the melamine.
Third epoxy resin pour: The blend of the third pour is precisely the same as the earlier 2 pours. Wait for 24 hours after the second pour. Apply 24 ounces of epoxy resin, and mix 2 ounces of glow powder to get an original effect of the river. Remove the bubbles (Just in case you find any) with a micro butane torch. Confirm if your Glow Powder actually glows or not!
Check the glow powder with a black light while it rests in the epoxy resin. You can also use UV black light to see if the water effect has met your expectation, or requires more resin. It gives the epoxy resin more shine. And, if the river tables are for indoors, this helps the table to glow in the dark.

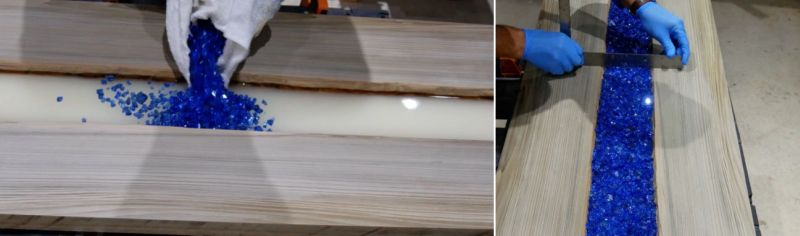
Insert fire glass in the epoxy resin river table: To add an extra edge to your table, you can use fire glass. Break the fire glass and spread it evenly across the shape of the river. Make use of the carpenter square for the fire glass to sit below the surface.

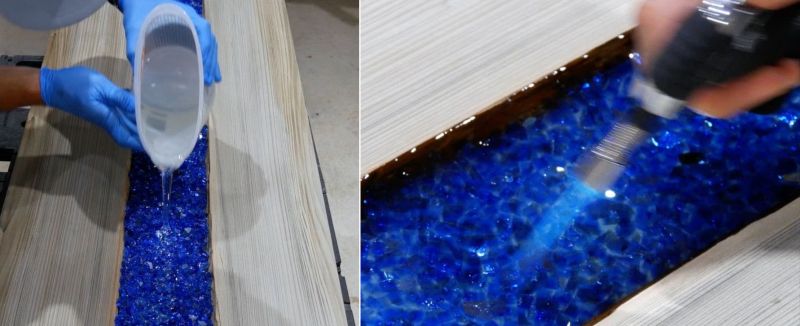
Fourth epoxy resin pour: Well, you can pour the epoxy resin as per your requirement, but since, Jeremy wanted the resin to shine through the fire glass to create a unique light pattern and look, so he used the fourth resin; this time without the glow powder. You can follow the same process and remove the bubbles accordingly. Let the epoxy resin cure for almost 48 hours.

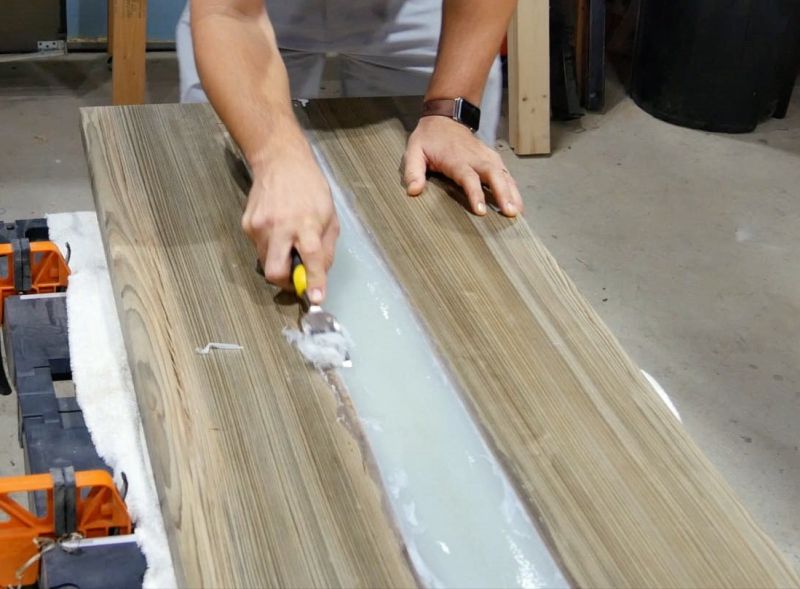
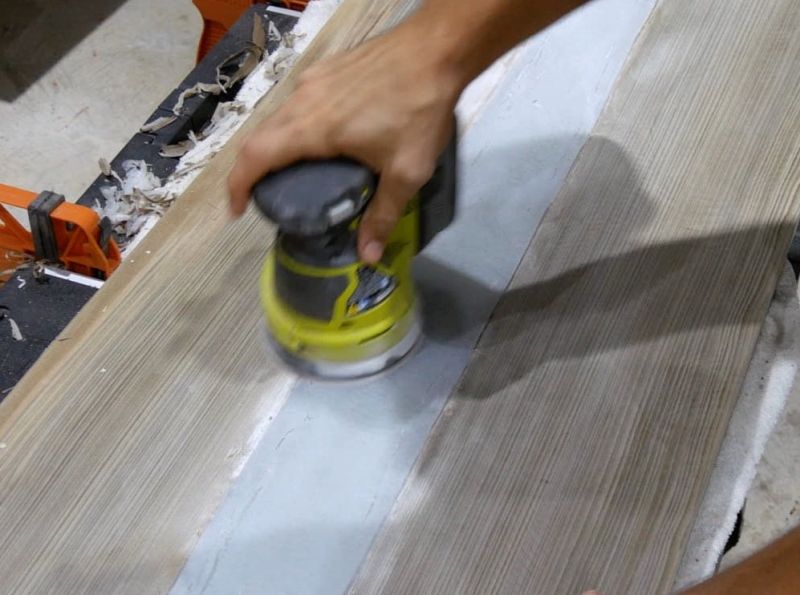
Remove the melamine: Once the resin has settled firmly on the table, you can detach the melamine, and sand the excess epoxy from the top and underside of the river table, giving it a more polished and clean look.
Note: In order to perform sanding on the table; place a light coat acetone prior to brushing on the last coat of epoxy resin if the material has rested for more than 24 hours. This assists the added coat of epoxy resin to stick on properly.
Attach UV Black Light: You can stick the light either facing down or facing up, depending on how bright you need the glow powder. You can use glue to attach the UV light to the river table. Switch off the lights to see the effects it brings through the fire glass.

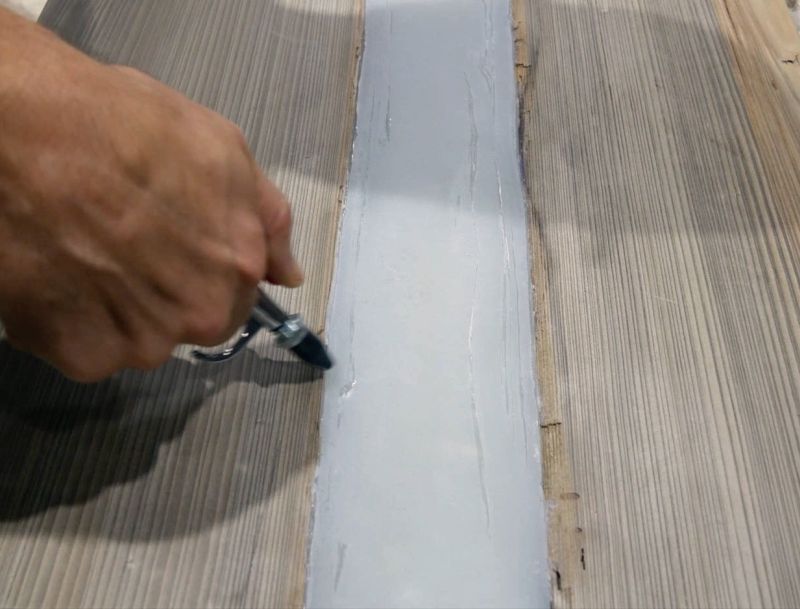
Also, don’t forget to apply finish to the River Table using Shellac; as it dries up quickly, protects the wood, and preserves the natural look and feel of the wood. Lastly, attach the table legs to the sinker cypress table. You can attach the legs them to the bottom of the live edge river table by marking pilot holes, drilling pilot holes, and fixing screws