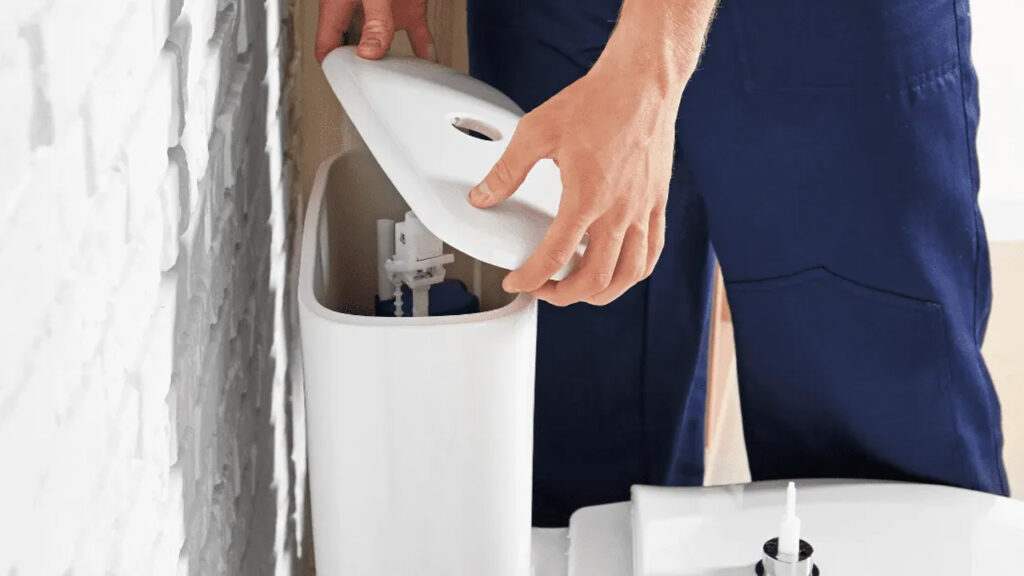
A toilet leak can be a concerning issue, as an undetected toilet leak can waste a large amount of water or spill unwanted gunk onto your bathroom floor. Several reasons can cause a toilet leak; however, the most common one is a deteriorated flush valve at the bottom of the toilet tank. It usually happens when the flapper isn’t tight enough or damaged. Flappers last 3-5 years, but their lifespan can vary depending on various factors, including the material quality, water quality, and more. However, their condition can deteriorate with the extensive use of in-tank cleaning products.
If you are struggling with a toilet leak but don’t want to call a professional and spend a lot of money, don’t worry, we are here with a quick DIY guide that’ll help you fix a toilet leak by yourself like a pro. The process should not take more than 30 minutes, depending on the damage.
Before you start repairing a leak yourself, there are some safety tips that you must take into consideration. First, always use protective gloves when working with toilets. After every thorough cleaning session, wash the work area with a disinfectant. So, gather all the essential tools and materials you need to fix a toilet leak and get ready to learn how to fix common toilet leaks by following these comprehensive and simple steps.
Also Read: How to Clean Toilet Stains: A Comprehensive Guide
Things You’ll Need:
- Adjustable wrench
- Bucket
- Clean cloth
- Hacksaw
- Screwdriver
- Washers
- Gasket
- Toilet bolts
- Utility knife
- Toilet repair kit
- Bathroom cleaner
- Sponge
- Rubber gloves
- Pliers
- Fill valve assembly
How to fix a Toilet Leak by Yourself
Fix Flush Valve Leaks
Start by removing the tank lid and flushing water. When you flush the toilet, the tank ball drops and refills. Then, add several drops of dark food coloring. You must wait for at least 20 minutes, and if you see a slight trace of color in the toilet bowl, there is a leak.
Replace a Float Cup Fill Valve
For the second step, adjust the height by twisting the shank in and out of the valve body. Then, place the valve in the tank, turn on the water, and adjust the water level.
Replacing a Float Ball Fill Valve
Check the height of the valve and adjust if there is a need. Now, position the valve in the tank inlet hole. Just make sure that the placement of the rod arm is not hindering the movement of the float ball. It’s time to screw the rod arm into the valve arm and the float ball into the rod arm. At the end of the process, turn on the water supply.
Replace a Flapper
Now you come to the part where you need to replace a flapper. Begin by sliding the lower lift wire through the upper lift wire and then through the guide arm on the overflow pipe. You need to fasten the lower lift wire to the tank ball, aligning the tank ball over the drain seat while keeping the wire vertical. Don’t forget to check if the ball sits properly or not.
Replace a Flush Valve
In this process, you need to cut the overflow pipe to match the height of the old pipe. Next, install the valve and secure the lock nut as tightly as you can. Then, onto the end of the valve, carefully slide the gasket. Next, connect the flapper chain to the toilet’s flush lever and fasten the refill tube to the pipe. For the last step, reconnect the tank to the bowl. Lastly, wash the work area with a disinfectant for a cleaner and hygienic toilet.
Final Word
If you follow these steps, you will be able to fix the common toilet leaks more efficiently and like a pro. In case you feel the need to call a professional, don’t hesitate to do so. You never know what you will learn from their professionalism and work experience.
Follow Homecrux on Google News!


