
Decades ago, wallpaper made quite a stir. Although not many people prefer them now, they remain popular. The best part about wallpapers is that they bring a sense of whimsy to your space, quickly and at a very affordable rate. The only downside is that they may lose their appeal to you after a while, at which point you need to take them down and give the walls a little refresher with either vibrant paint or another wallpaper.
If you want to remove the wallpaper in your home by yourself, remember, it’s not as easy as it sounds, but not as complicated as you think. Removing the wallpaper is more tedious than difficult, but with the right tools, guidance, and understanding, you can do it without a fuss.
There are four methods: steamer, water and vinegar or fabric softener, liquid remover, or gel remover, allowing you to remove about 100 square feet of wallpaper in an hour without making a big deal about it. A steamer helps remove old and difficult wallpaper. Water and vinegar or fabric softener help remove temporary or peelable wallpaper. The liquid remover comes in handy in removing vinyl wallpaper, especially in the bathroom, where wallpaper is usually vinyl-coated. A gel remover works better when you need something to stay on the wall for a long period of time.
Prep Work
Once you know the types of wallpaper removers and their best uses, it’s time to know the process, preparations, and safety concerns involved in removing the wallpaper. Before you go on and start scraping the wall, remember that removing wallpaper will involve a great amount of liquid that can damage your floor and furniture. So, it is better to take protective measures, and the best way to do it is by using sheets, covers, and cardboards, or towels. Secondly, unscrew everything from the wall, including pictures, paintings, the clock, the electrical outlet, and the light switch covers, or any decorative items you don’t want to get damaged.
Staying safe should be your foremost priority. That’s why there are safety measures that you should consider. For example, make sure to never refill a steamer when it’s still hot, otherwise it’ll burn your skin. Always let it cool down before refilling it. The wallpaper removal process can expose you to mold and mildew, most common in old homes, which can cause serious health and respiratory problems. In that case, you should always wear gloves and a mask. Another risk is the electrical wiring behind the wall. If you are not careful, you may accidentally cut any electrical component while removing wallpaper.
Now that we have achieved a better understanding of the knick-knacks of the process of wallpaper removal, it’s time to know how to do it on your own. This comprehensive guide will lead you through the entire procedure of removing the wallpaper through the above-mentioned methods. Let’s begin.
Also Read: How to Detect Hidden Water Leaks at Home: Quick and Easy DIY Guide
Things You’ll Need:
- Paint scraping tool
- Steamer
- Sprayer
- Clan sponge
- Putty knife
- Water
- Vinegar or fabric softener
- Tape
- Sheet plastic
- Gel-based wallpaper removal
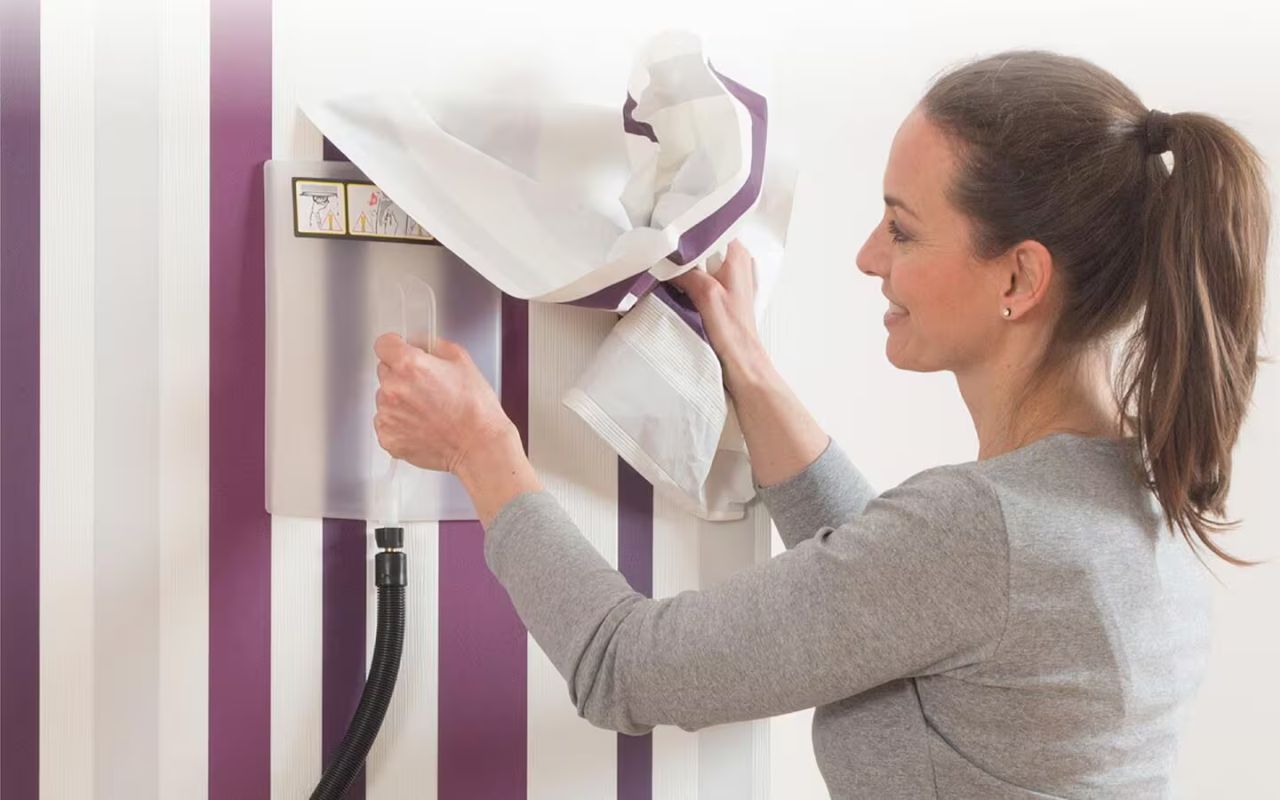
How to Remove Wallpaper With Steam
Prepare the Steamer
Start by preparing your steamer. Fill the steamer with water and let it heat up. When the steamer starts bubbling, it’s time to use it.
Steam the Wallpaper
Hold the steamer on the wall for at least 15 to 20 seconds. Remove the steamer quickly and safely, and keep it aside without getting burned.
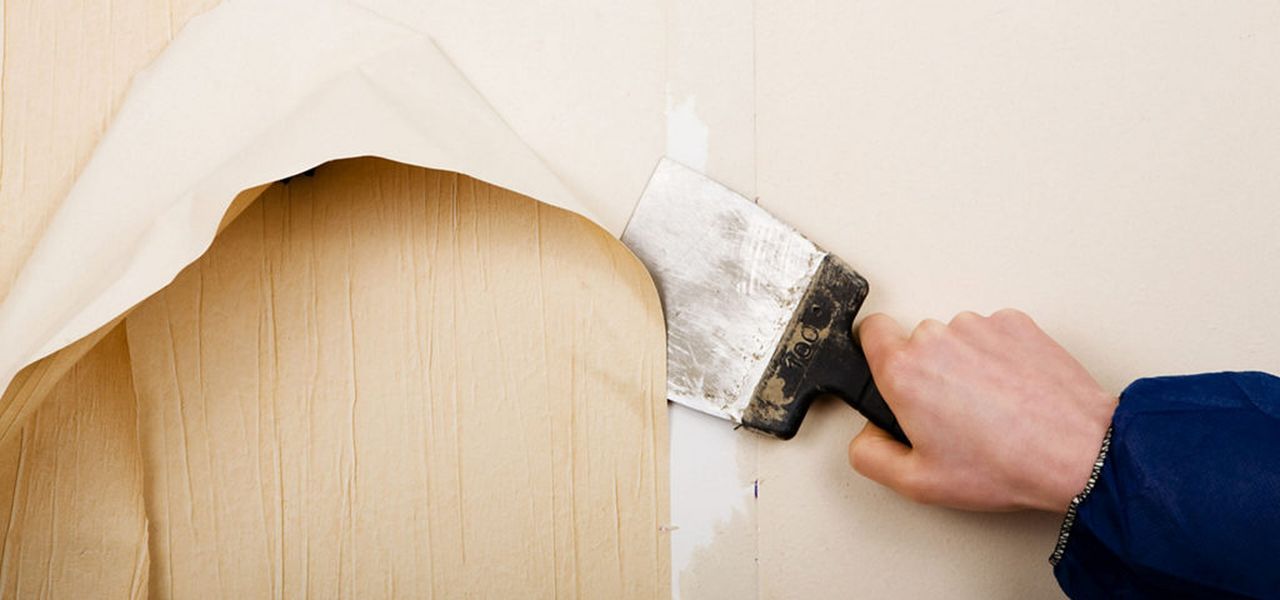
Scrape the Wallpaper and Adhesive
Once you are done steaming, immediately peel off the section of the wallpaper using the putty knife. Keep on steaming and peeling the wallpaper until it’s completely scraped off the wall. When the paper is removed, get rid of extra residual wallpaper glue by re-steaming the wall while scraping it away.
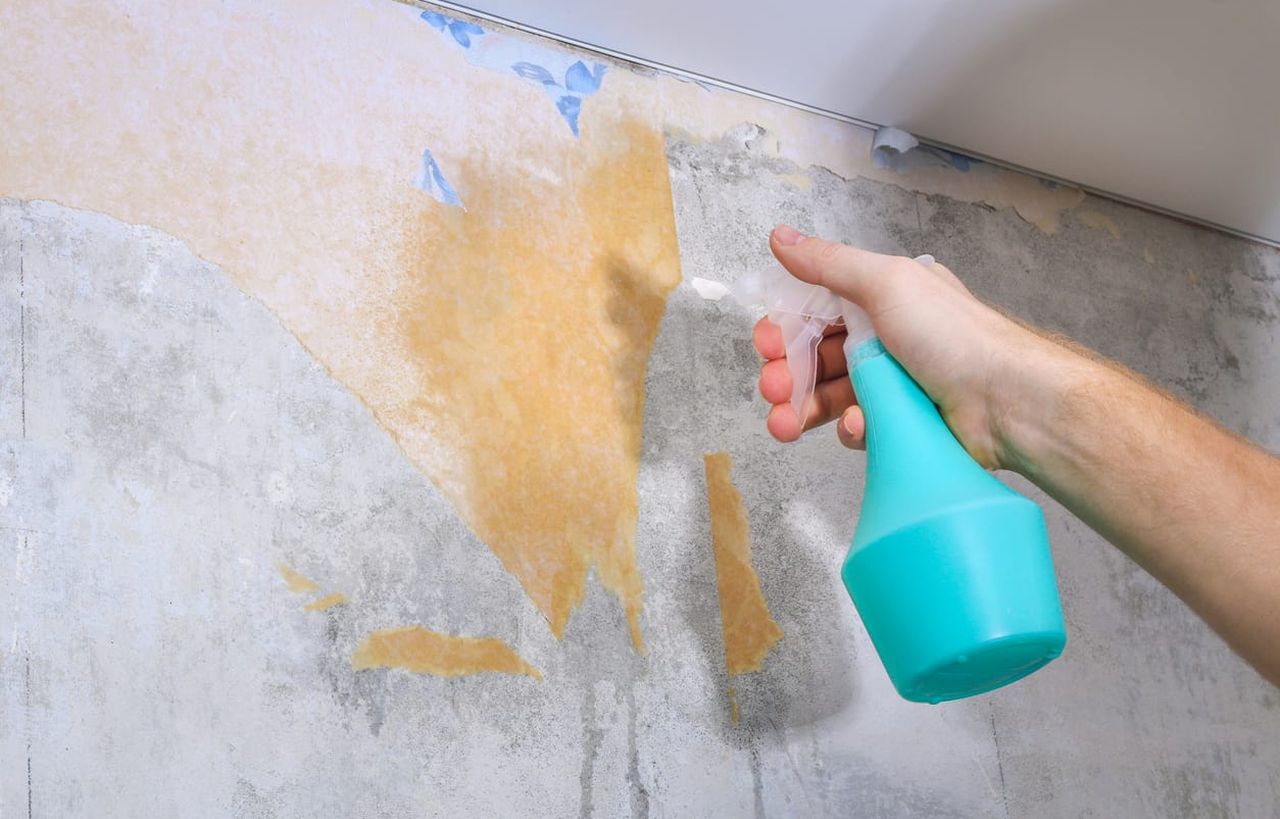
How to Remove Wallpaper With Vinegar or Fabric Softener
Mix the Solution
Prepare your solution in a spray bottle. In a bottle, mix one part water and one part vinegar. Or, you can add three parts water and one part fabric softener.
Apply Solution to the Wallpaper
Generously spray an area on the wall with the solution. Once that particular area is soaked, you can easily remove the wallpaper.
Scrape and Peel the Wallpaper
Now that your wallpaper is saturated, it will come off easily with the scraper. If you fail to do so on the first attempt, then soak and peel the wallpaper again. Repeat the process until the entire wallpaper comes off.
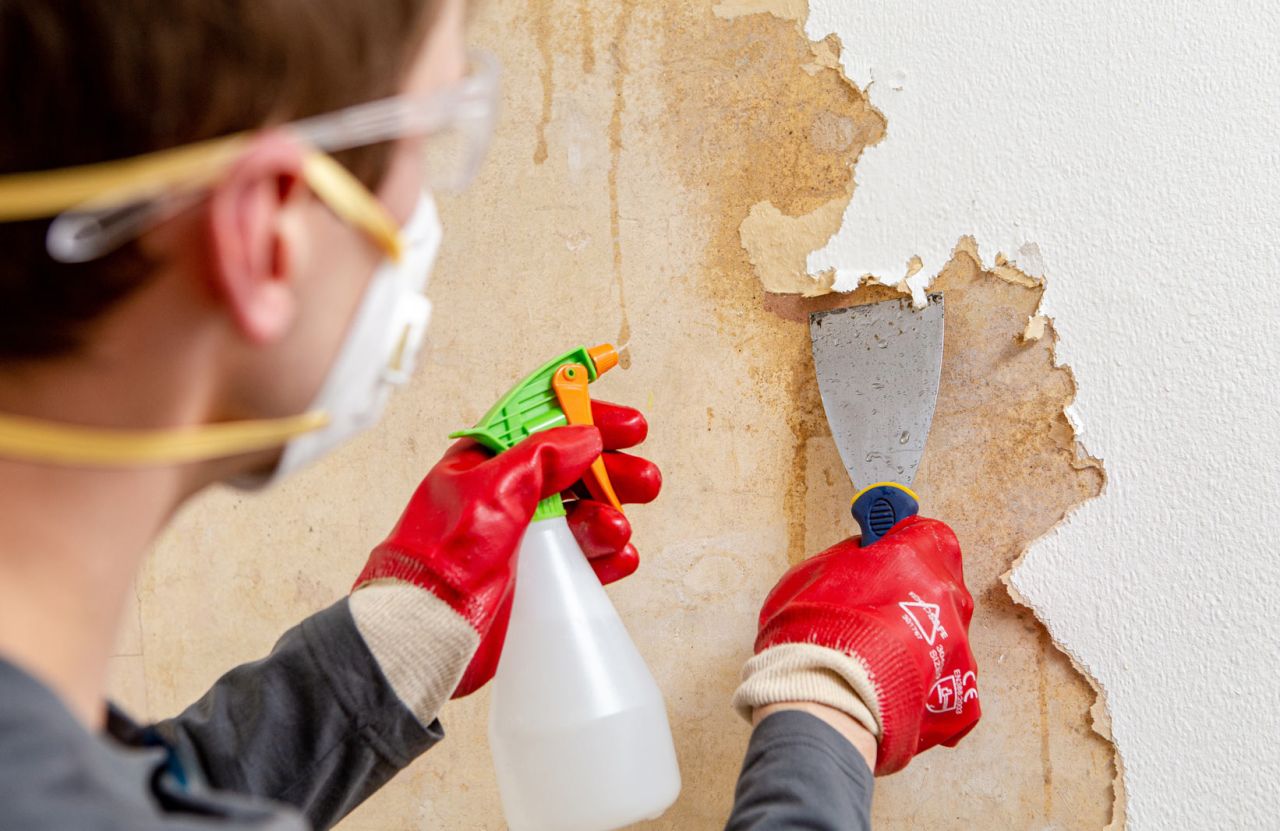
How to Remove Wallpaper With Liquid Stripper
To note, this method is by far the messiest. So, before you begin, spread some plastic sheets on the floor for easy cleaning, and wear protective gloves.
Apply the Wallpaper Stripper
Spray the stripping solution directly on the wall. It’s better to spray the solution over small sections for better results. After spraying the stripper, wait for 10 to 15 minutes and let the wallpaper completely soak the solution. If you notice some wrinkles on the wallpaper, it’s ready to be removed.
Remove the Wallpaper With Putty Knife
Push the putty knife under the wallpaper with sheer gentleness and lift off the wallpaper. Do not scrape the wallpaper roughly, but one section at a time. Keep doing it until the wallpaper comes off.
How to Remove Wallpaper With Gel Remover
Gel removers are somewhat similar to liquid removers; the only difference is that they’re less messy. It doesn’t drip or run, giving you peace of mind that you don’t have to clean the floor.
Apply the Gel Remover
Use the spray bottle, brush, or roller, and apply the gel remover to the wallpaper. You must let it sit for 20 to 30 minutes and fully soak in. However, it is also recommended to first score the wallpaper with the scoring tool.
Remove With Putty Knife
After 20 to 30 minutes, when the gel has soaked the wallpaper, use the putty knife and remove the wallpaper in stripes. To note, gel-based remover works more slowly than liquid remover, so you need to be patient with the process.
Final Word
Yes, removing the wallpaper can be messy and daunting, requiring a lot of patience. However, with clear instructions and precisely following the wallpaper removal steps, you’ll be able to do it without stressing over it. So, follow this step-by-step guide and get your room ready for a whole new look.
Follow Homecrux on Google News!


