
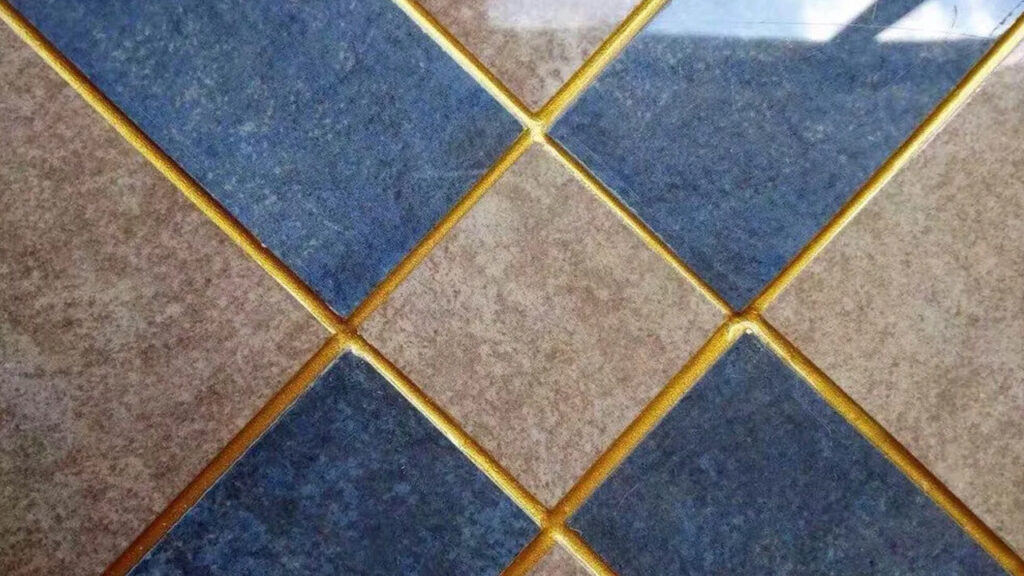
Epoxy grout comprises two parts: epoxy resin and hardener. It is commonly used in tile and stone installations because of its exciting characteristics: durability, resistance to stains, and low porosity. Owing to this, epoxy grout is an increasingly popular choice for tiling projects – on the floor, wall, or backsplash – where durability and low maintenance are of utmost importance.
Epoxy grout is available in a wide range of colors, which adds to its acceptance as a top choice for areas with high moisture or heavy foot traffic. In comparison with traditional cement grout, epoxy grout is more resistant to water, chemicals, and stains, but it is also difficult to work with.
It requires careful mixing to achieve the perfect mixture and a good hand at application. Else, you can end up applying too much epoxy grout or make mistakes during the installation process that can leave behind excess material. Fortunately, cleaning this excess grout with the right tools and methods is possible. Removing excess epoxy grout includes scraping the area with a squared-off wooden stick, wiping the area with soapy water using a nylon scrubber, or cleaning using an epoxy stripper if necessary. Before you conclude on a choice, read below for five simple but effective steps to cleaning epoxy grout.
Scrape Excess Epoxy Grout
Depending on the brand of epoxy grout you have used, it may take anywhere from 24 to 72 hours to fully set. Wait until the epoxy grout is completely dry before attempting to scrape off any excess. Removing excess epoxy grout is essential to ensure a perfect finish.
Use a squared-off wooden stick or a paint stirrer to scrape any excess material. To be more particular, you can also pick a poxy grout scraper from a hardware store. This is a special tool designed to scrape off excess epoxy grout without damaging the surface. Whatever tool you’re using, to remove any excess grout from the surface of the tile, be gentle and do not apply too much pressure. If you are not careful, you can end up causing damage to the surface instead of mending it.
Wipe With Elbow Grease
Once you have scraped away the excess grout, it is time to apply elbow grease using a nylon scrubber and soapy water. Elbow grease is an all-purpose degreaser that can be used on most surfaces including tiles. Quality epoxy products such as epoxy grout and long-lasting epoxy glue can withstand great force but they look top-notch when finished well.
Grab a nylon scrubber to work the soapy water into the grout lines. Make sure you get to all the grout lines, corners, and crevices, and pay special attention to those hard-to-reach places for a perfect finish. Rinse the sponge frequently to avoid spreading grout residue. Your goal here is to remove the remaining pieces of epoxy from the surface without scratching or gouging it.
Bring in Epoxy Stripper
Depending on the amount of excess epoxy grout, you may need to repeat the scraping and wiping process a couple of times to remove all of the excess. If you still have excess epoxy grout to clean, it’s time to bring in an epoxy stripper. Before you begin, read and understand dilution and soaking time directions. Usually, you will need about 30 minutes to dampen the grout, this will help soften the grout and make it easier to scrape off.
Use masking tape to protect other areas from any potential damage. The epoxy stripper will help to soften and strip the grout. Depending on how much excess epoxy grout is present, multiple applications of the epoxy stripper may be necessary.
After each application, wait 10 minutes before scraping off the remaining grout residue with a metal spatula. Once you’ve removed all the excess epoxy, clean the surface area with warm water and gentle soap to remove any remaining residue or debris, as in steps 1 and 2 above.
Allow the area to dry thoroughly before continuing with further grouting or tile installation tasks. However, when working with an epoxy stripper, make sure to work in a well-ventilated space and wear protective gear such as face masks, gloves, and eye protection. After you have wiped down the grout lines, rinse off the area with clean water and let it dry before you apply a sealer.
Also Read: How to Clean Tile Grout with Homemade Solutions
Neutralize Excess Epoxy Stripper
Once you’ve removed all the excess epoxy grout from the surface, whether it’s bathroom tiles, floor tiles, or backsplash, it’s essential to neutralize any remaining epoxy stripper. Epoxy stripper is a strong substance, and you should handle it carefully.
Mix a trisodium phosphate solution with water and pour it over the affected area. Allow the solution to sit for five minutes, then wipe it away with a clean paper towel. That will help to neutralize the epoxy stripper and restore the area to its former pristine condition.
Wash the Area Clean
Once you have neutralized the excess epoxy stripper, rinse the area with clean water and a mild soap solution. This will remove any remaining residue and keep your surfaces looking great. Now, your tiled surface should be free from excess epoxy, dirt, and debris. After rinsing the area, dry it thoroughly with a clean cloth or paper towel.
Conclusion
Epoxy grout is an excellent option for creating a robust and durable bond between tile surfaces. However, it is possible to apply too much epoxy grout or make mistakes during the installation process that can leave behind excess material. Using the abovementioned steps, you can clean up and leave the surface looking professionally done.
Follow Homecrux on Google News!


