


Pumpkin carving is a Halloween ritual every lover of this spooky festival must follow year after year without fail. For beginners, we have carved seven easy pumpkin carving patterns (with their video tutorials) that you will want to use annually. These pumpkin carving tutorials are effortless and fun; some can even be carved along with kids. Let’s see what’s in store:
Traditional Jack-o’-lantern

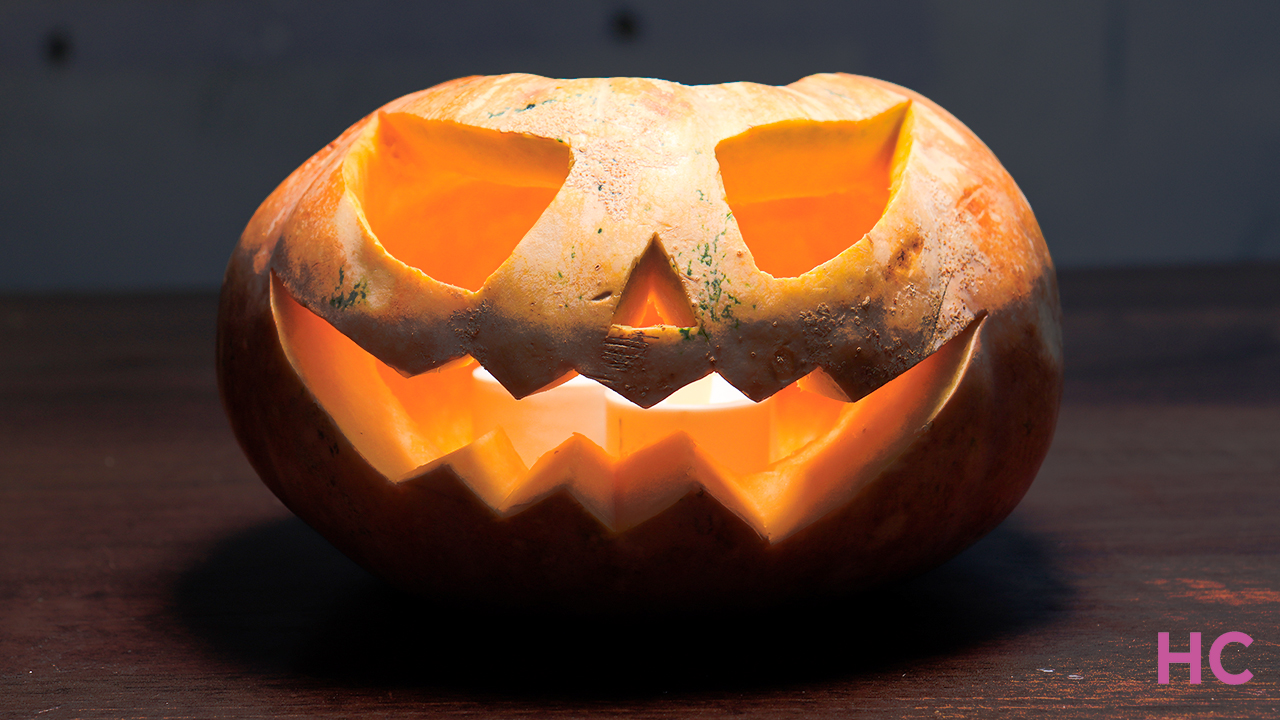
This one is the easiest pumpkin carving pattern and can be made in under 30 minutes. You will need a pumpkin and some carving tools. Even simple kitchen knives will do if tools are unavailable.
How to Carve a Traditional Jack-o’-lantern
- Carve a hole at the top of the pumpkin and clear out the insides
- Then create a Jack-o’-lantern pattern, using stencil or freehand on the pumpkin. It should include angular eyes, a mouth with jagged teeth, and a small nose
- Carve the pattern and put tealights inside. And that is it
Follow the video tutorial below:
Pumpkin Fairy House

Pumpkin fairy houses are a fan favorite when it comes to carved pumpkin Halloween decorations. They are adorable and make for wonderful garden displays or tabletop decorations. We used mini pumpkins, toothpicks, and grass for decoration. You can have your own style or pick for it.
How to Carve DIY Pumpkin Fairy House
- Take one big pumpkin and carve a hole at the top. Then empty the innards
- Take a smaller pumpkin. Cut a hole at the bottom and empty it as well
- Then carve a door in the bigger gourd, flanked by two window holes
- Insert toothpicks to make window bars
- Add string lights inside the bigger pumpkin, and place the smaller pumpkin on top
- Decorate with grass and moss and your fairy pumpkin house is ready
Follow the video tutorial below:

Hocus Pocus Pumpkin Carving
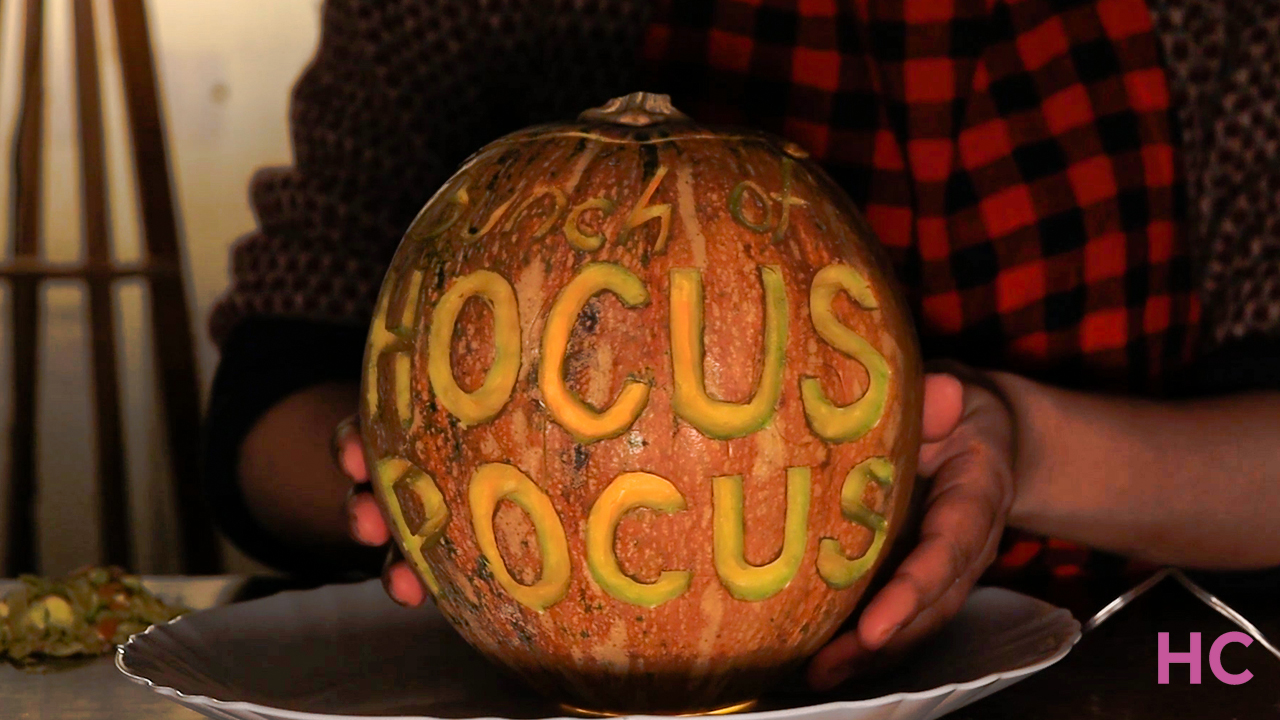
We love the Sanderson sisters and their evilness. To honor them, we have a simple, albeit slightly tricky, Hocus Pocus pumpkin carving idea. It needs a pumpkin, a couple of carving tools or knives, and a quote from the Halloween movie. We chose “Bunch of Hocus Pocus.” Let’s get to work:
How to Carve a Hocus Pocus Pumpkin
- We carve a hole at the top of the gourd and empty the insides
- Then trace the quote on the side of the pumpkin in bold font and begin carving within the outlines
- You can peel the skin or carve the letters entirely, the choice is yours
- Once carved, add string lights inside and display the pumpkin anywhere in the house
Check out the video tutorial below:

Ghost Pumpkin Carving

Ghost may be scary but we never found sheet ghosts frightening. Arguably, they are cute and a Halloween decoration staple. So we carved some of these ethereal beings on a pumpkin this year. It is another easy pumpkin carving idea. Check it out:
Steps for Ghost Pumpkin Carving
- Carve a hole at the bottom of the pumpkin and hollow out the insides
- Draw sheet ghost patterns at a two-inch distance from each other and peel the skin of the gourd within the outlines
- Punch two holes for eyes and add string lights inside the pumpkin
Check out the video tutorial below:

Jack Skellington Pumpkin Carving

Jack Skellington is a fan favorite among the gaggle of Halloween-themed characters provided by pop culture. The King of Halloween Town is a classic addition to the spooky season decorations. So we etched the lovely Jack on a Jack-o’-lantern.
Steps for DIY Jack Skellington Pumpkin Carving
- Cut a hole at the bottom of the pumpkin and empty the innards
- Carve out the nose, eyes, and mouth of Jack with vertical stitches
- You can simply peel the skin of the pumpkin when carving or carve it entirely
Follow the video tutorial below:

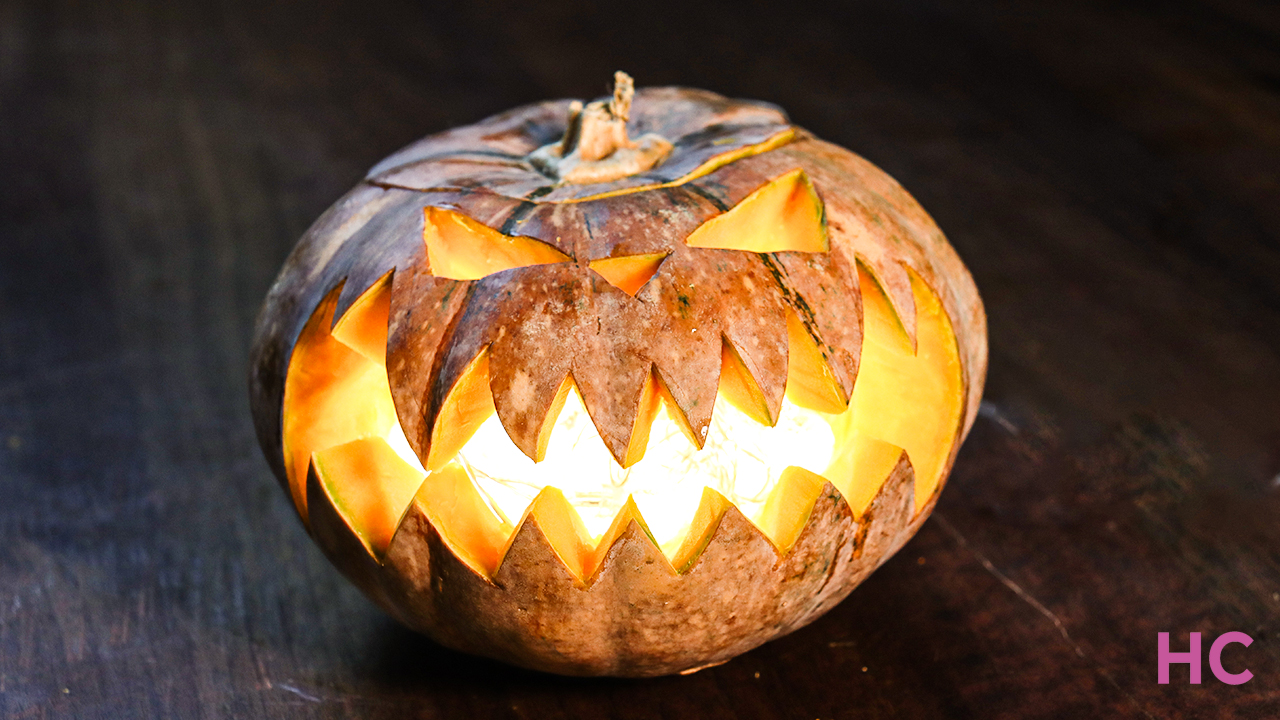
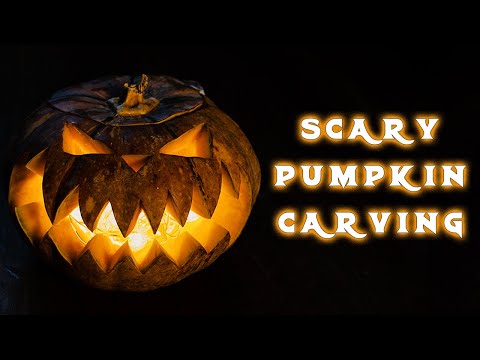
Scary Pumpkin Carving
For this simple pumpkin carving, you will need a pumpkin and some knives or carving tools, if you have them. And someone to guide you through the process, which isn’t much and you can easily pull this pumpkin carving idea within half an hour. So let’s teach you how to carve a scary pumpkin for Halloween 2023.
Steps for Scary Pumpkin Carving
- With the first step being the same, you will need to make a hole at either the top or the bottom and hollow out the insides
- Draw a scary Jack-o’-lantern pattern on the side of the pumpkin and carve it within the outlines
- Make sure to make pointy eyes, a small nose, and big, jagged jaws to complete the effect
Follow the video tutorial below:
Puking Pumpkin Carving
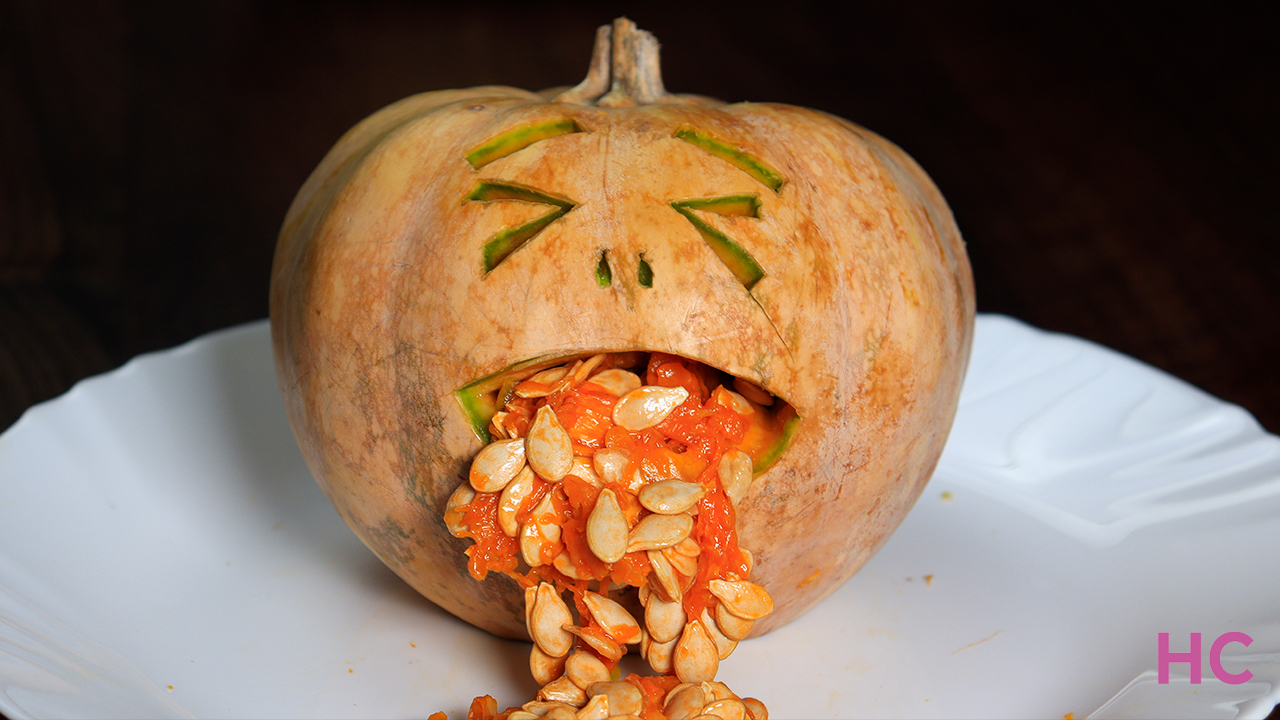
For some people, Halloween decorations must include something gory, sick, and icky. And nothing serves the effect as much as a sick and creepy puking pumpkin carving. So we are teaching you how to carve a puking pumpkin.
How to Carve a Puking Pumpkin
- Open up the pumpkin at the bottom and empty the insides
- Then draw raised eyebrows, squinting eyes, a nose, and a gaping mouth
- Next put the removed innards at the mouth opening, making it look as if the pumpkin is vomiting
Follow the video tutorial below:
We hope you like these pumpkin carving tutorials and would try them at home. Happy Halloween!


